 Do you want to customize the product page with Elementor pro? In this brief tutorial, we will share how you can use this powerful tool to create a stunning product page. As I recently shared in the Elementor Review, you can can use this page builder with WooCommerce.
By default, WooCommerce provides you with a product page that has a good design. However, it is important to note that this page design looks the same in your entire WooCommerce site.
You may want to customize this page for different products in your online store depending on its features and function.
How to Customize WooCommerce Product Pages With Elementor Pro
This post will show you how to customize the product page using the Elementor WooCommerce Builder plugin. All you need to do is to visually drag & drop different elements of the product page.
You can also customize the design according to your specifications without touching a single line of code.
This plugin is very easy to use and gives you full control to customize your theme’s single product page. This results in a modern page design.
Let us get right into it.
Steps to Customize WooCommerce Product Pages With Elementor Pro
Before you proceed, you need to have a working WordPress installation, and WooCommerce added on top of that. You also need the Elementor page builder plugin.
Here are the steps that you need to follow:
- Log into your WordPress site and access the Dashboard as the admin user.
- From the Dashboard menu, click on Templates > Add New.
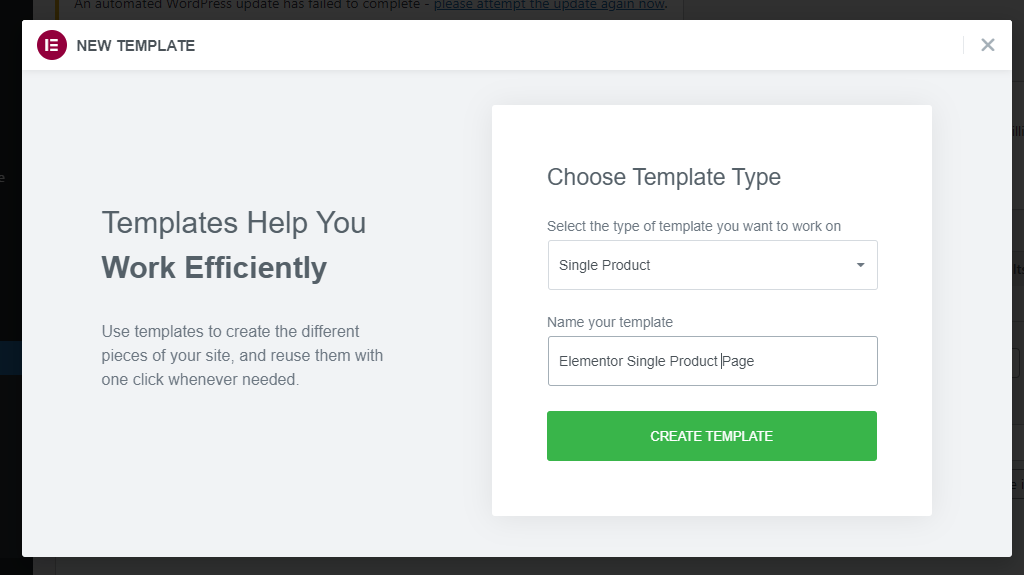
- A popup will appear, asking you to enter the template type and name. From the dropdown, choose Single Product, give it a name, and click Create Template:
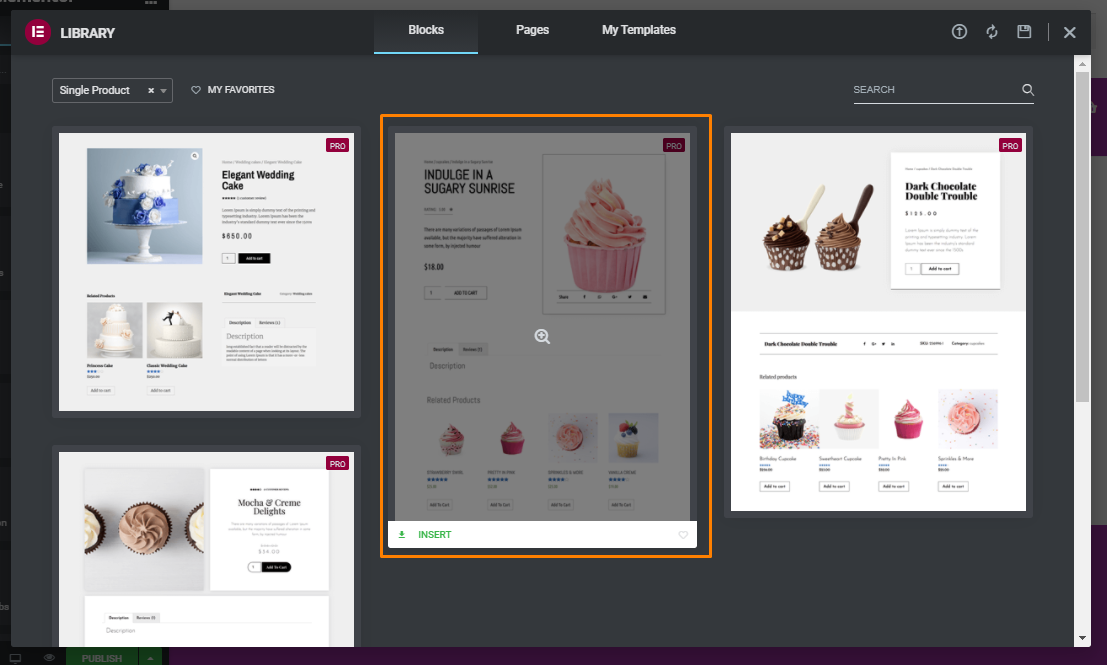
- We recommend using a pre-designed product page template because you can easily customize it to fit your brand. If you are an advanced developer, you can create a new template from scratch, but it will take you some time.
- Choose a Single Product Block and Insert, as shown below:
- You can customize the template using the widgets on the left. It is also possible to customize the current widgets or remove the elements you do not need.
- The next step is to adjust the background color, font color, and various typography settings. This can be done by click on the pencil icon in the top right corner of the block. You can click on the Style tab on the top right corner to perform any styling or look related customization:
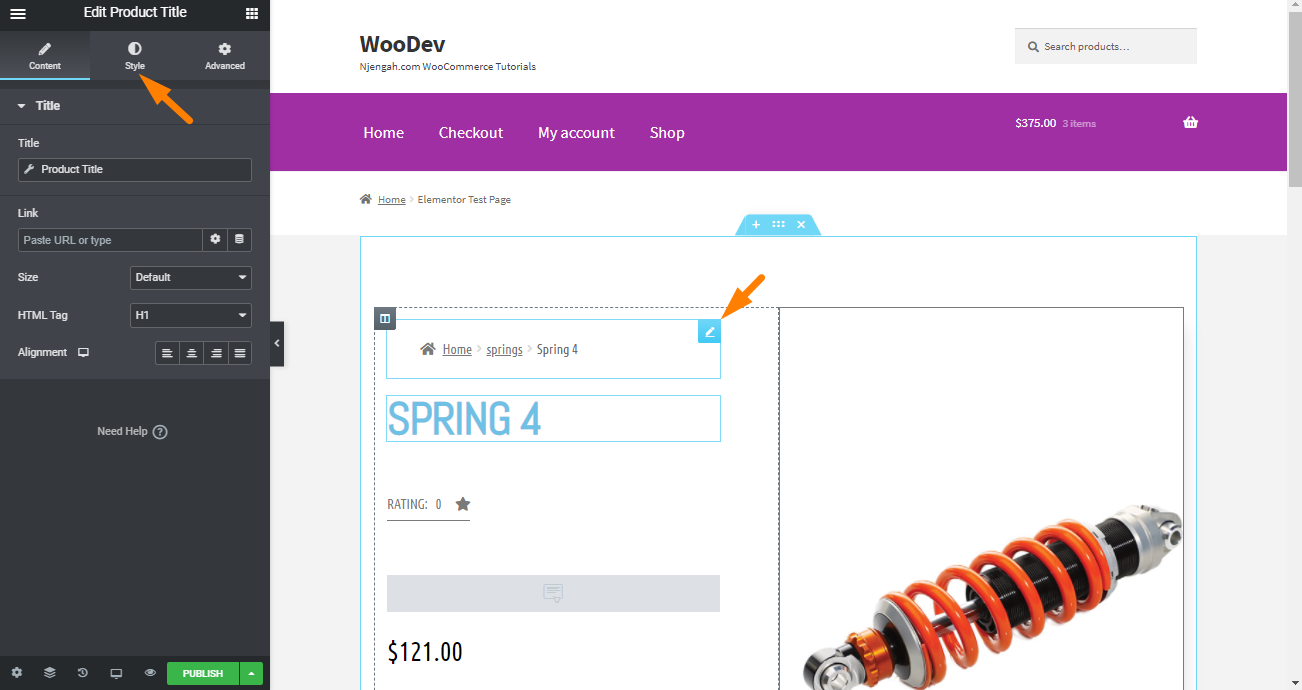
- You can also change the font and all the parameters by clicking on the Typography tab.
- If you want to add any element to create a unique shopping experience, you can drag any widget to the page. The widgets include menu cart, WooCommerce breadcrumbs, product title, product price, product rating, product description, product stock, add to cart, and so many more.
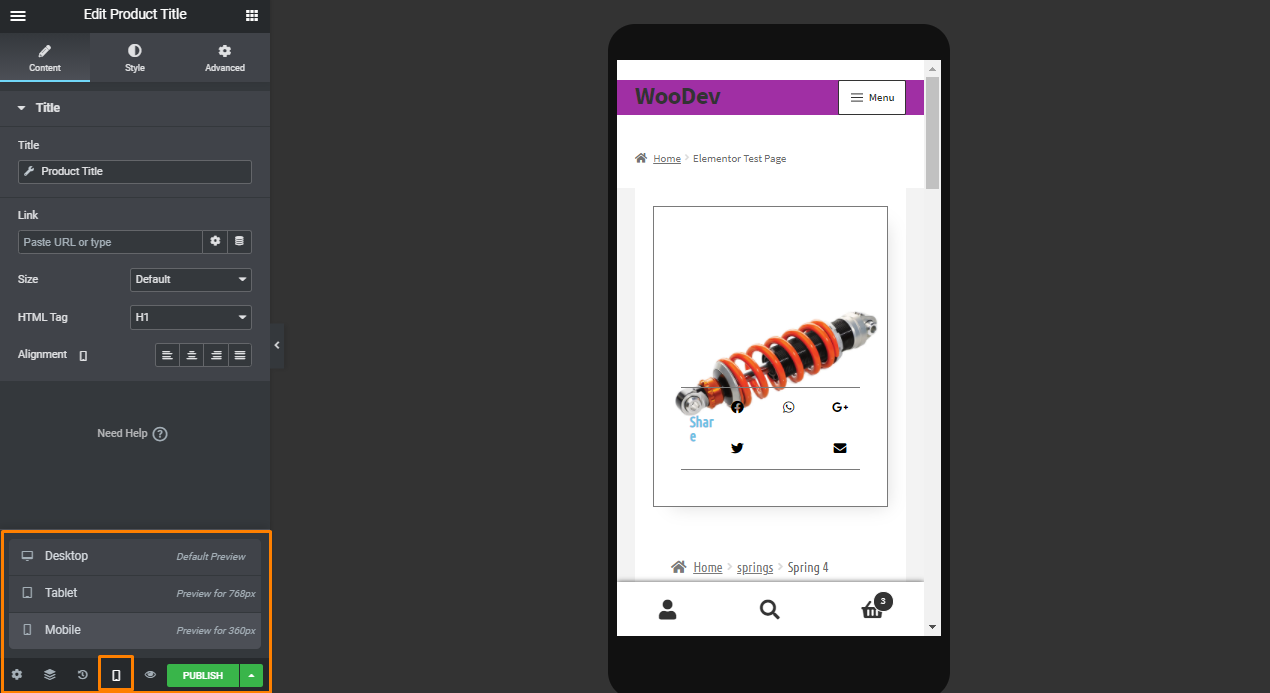
- We also recommend clicking on the Responsive Mode button at the bottom left corner of the Elementor interface. You can tweak the design of each view as desired:
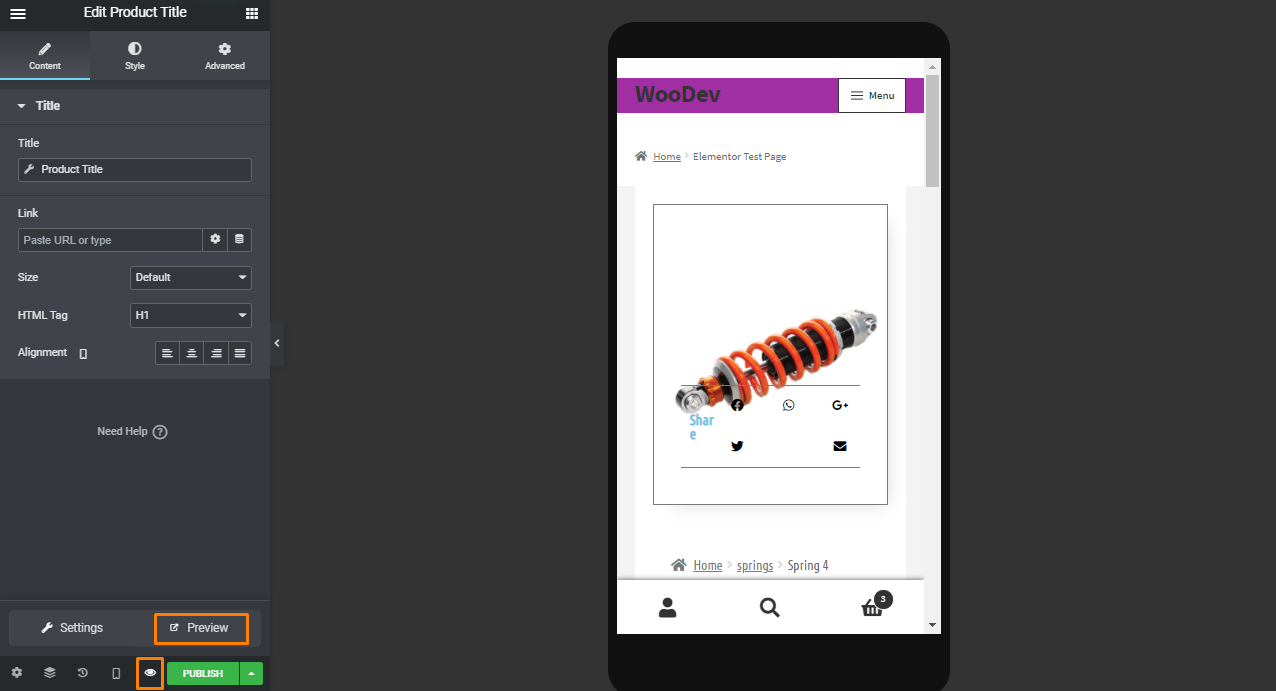
- After that, preview the new product page by clicking the eye icon on the bottom left panel, then settings.
- If you are satisfied with how all the elements are displayed, click on the Publish button.
- The last step is to set the conditions for the specific category.
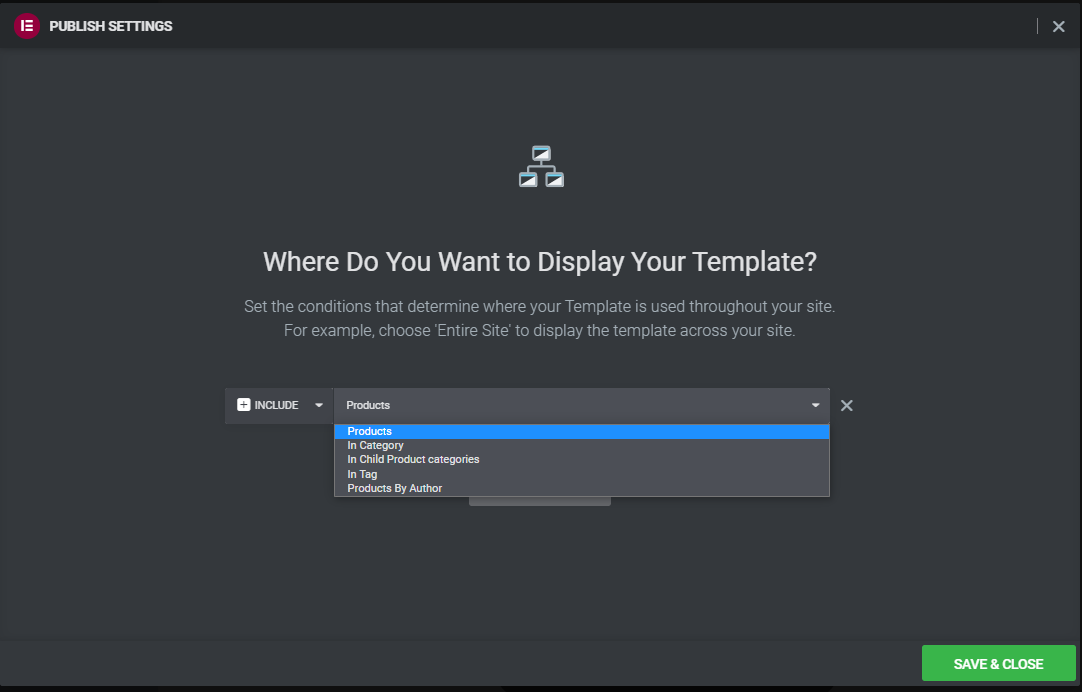
- Once you are done, click on Save & Close, and all the conditions you add will be set.
Conclusion
As you have seen from the tutorial above, customizing the WooCommerce product page using Elementor pro is not a complicated process. You do not need any coding skills to use this powerful tool.
This saves you a lot of time. You will be able to create stunning product pages within minutes.
We hope that this tutorial helped you to customize the single product page.
Similar Articles
- 100+ Tips, Tricks & Snippets Ultimate WooCommerce Hide Guide
- How to Add Product After Storefront Setup [Beginner Guide]
- How to Backup WooCommerce Database
- How to Translate WooCommerce Checkout Page
- How to Integrate MailChimp With WooCommerce
- How to Get Order Details After Checkout In WooCommerce
- How to Remove Related Products in WooCommerce in 3 Easy Options
- How To Display Product Attributes In WooCommerce
- How to Add Amazon Affiliate Products to WooCommerce
- How to Add WooCommerce Products to Facebook Shop
- How to Hide Featured Image on Single Product Page
- How to Change Add to Cart Button to Read More WooCommerce
- How to Remove Product Image Placeholder In WooCommerce
- How to Customize WooCommerce Product Pages
- How to Hide Product Description Heading WooCommerce
- WooCommerce Hooks List » Global, Cart, Checkout, Product
- WooCommerce Image Placeholder Guide
- How to Add Video In Product Image WooCommerce
- Move Price WooCommerce Storefront Hooks
- How to Create WooCommerce Custom My Account Page