Are you wondering how you can change a category image in WooCommerce?
This post will illustrate how you can change the category thumbnail using the built-in WordPress options and using a code snippet.
It is worth mentioning that WooCommerce product categories are similar to WordPress blog post categories.
They are used to organize and manage products in your online store.
It is important to display an attractive thumbnail for your product categories.
Focusing on visual looks can help to increase sales because our brain absorbs visual things quickly as opposed to learning from listening.
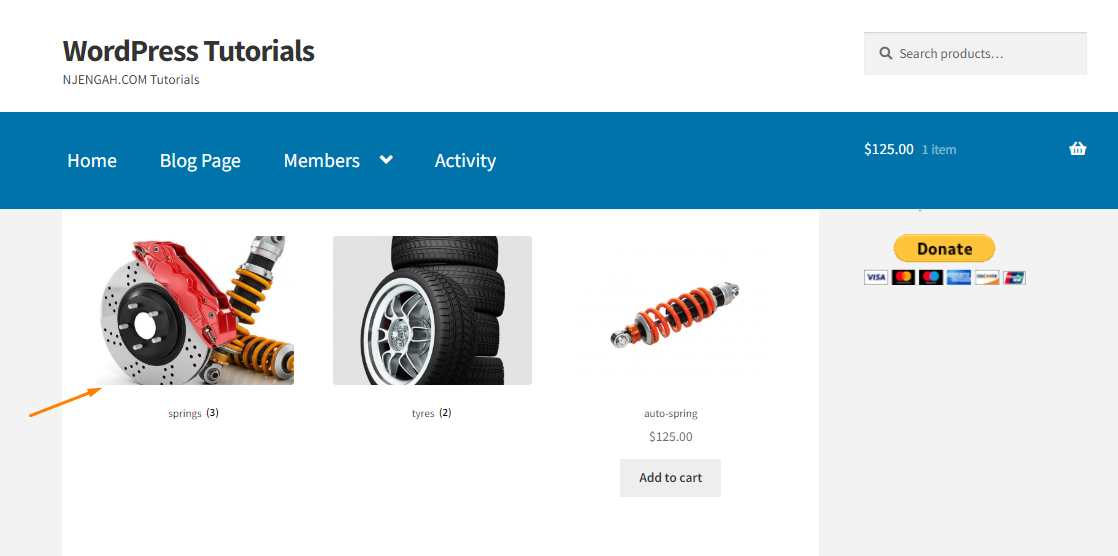
Change Category Image WooCommerce
In this tutorial, you will see how it is very easy to change a category image. We will share two different methods that you can use, depending on your skill level.
Let us get right into it.
Using The WordPress Admin Dashboard To Change A Category Thumbnail
This is the easiest way to change a category image. However, you need to choose a different image for each you have. Here are the steps you need to follow:
- Log in to your WordPress dashboard as an admin.
- From your WordPress admin panel, navigate to Products > Categories and choose the category you want to change the image.

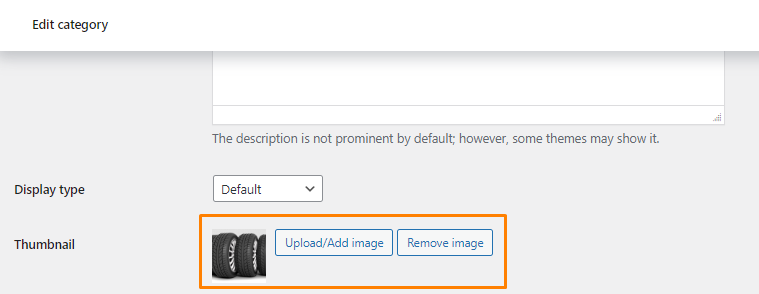
- The next step is to click on the Edit button under the category name, to change the thumbnail. Scroll down to find the Thumbnail field and upload an image of your choice. It is important to note that the image should be square in shape.
- After adding the image, the next step is to click on the Update
- This is the outcome:
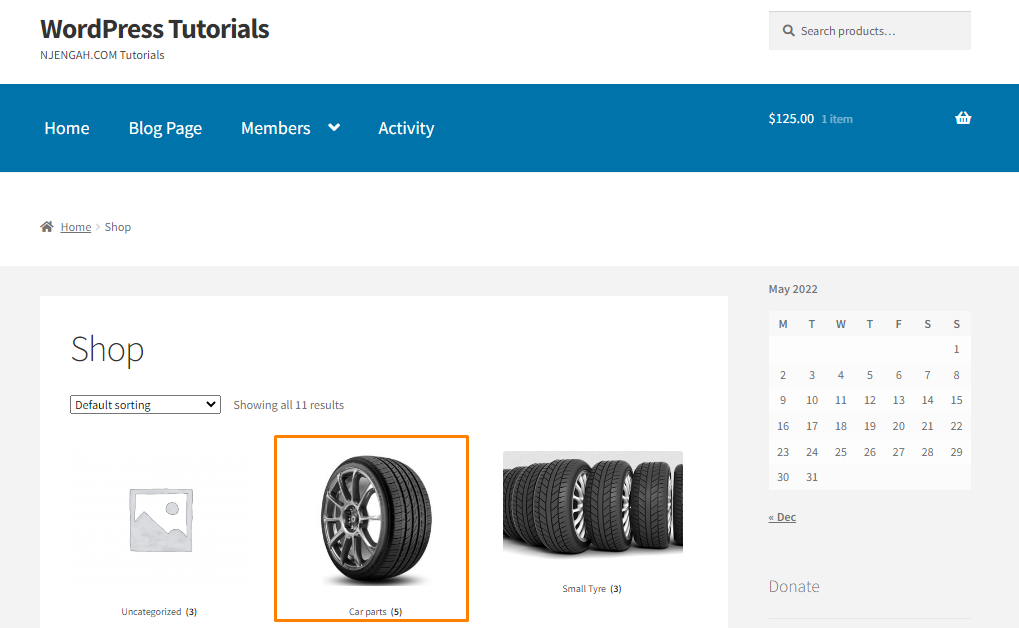
- Follow the same process to add images for other categories in your store. It is important to use an appealing image that can potentially increase your sales.
Using A Code Snippet To Change The Default Category Thumbnail
In this section, we will share how you can change the default category image in WooCommerce. We will be using a custom code snippet we created specifically for this task.
Here are the simple steps you need to follow:
- Log in to the WordPress Dashboard as admin.
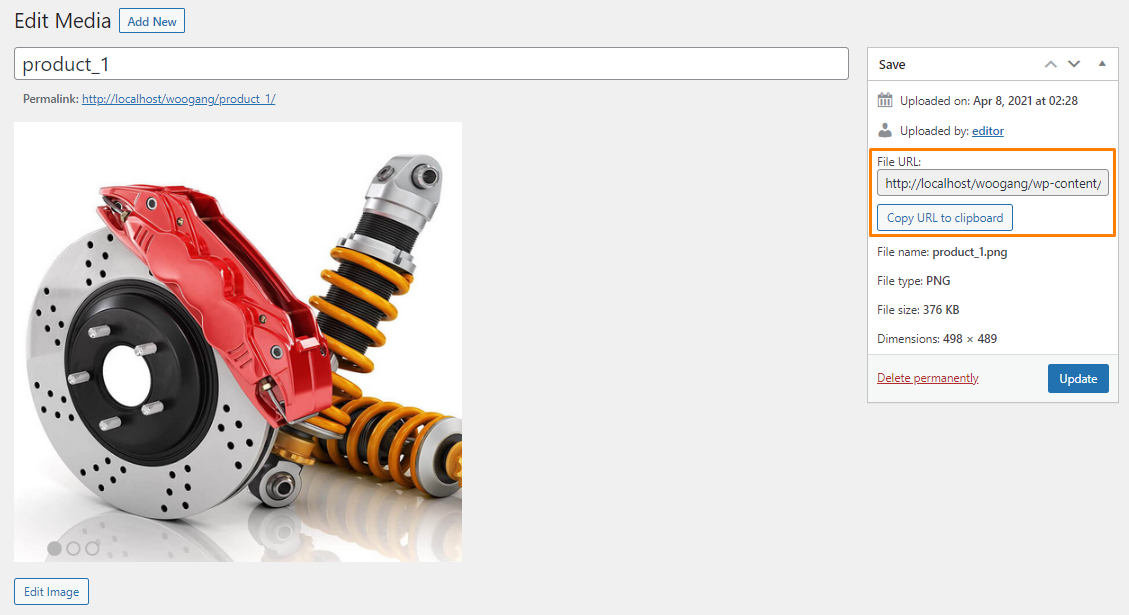
- The next step is to upload the thumbnail image to your media library. It is worth mentioning that you can use any size, but we recommend using images with dimensions 512 x 512 px.
- Once your image has been uploaded, copy the image URL, as shown below:
- Navigate to Appearance > Theme Editor. Select the functions.php file where we will add the function to change the default category thumbnail image.
- Add the following code at the bottom of your child theme’s functions.php file:
// Add filter

add_filter( 'woocommerce_placeholder_img_src', 'njengah_custom_woocommerce_placeholder', 10 );

// Function to return new Thumbnail image URL.

function njengah_custom_woocommerce_placeholder( $image_url ) {

$image_url = 'https://www.tychesoftwares.com/wp-content/uploads/2019/05/ts_cart-1.jpg'; // change this to the URL to your custom thumbnail image url

return $image_url;

}
- After adding the code, save the functions.php file.
- This is the outcome:
Conclusion
As you have seen, it is very easy to change a category image in WooCommerce. For the first method, you do not need any coding skills to implement the solution. This method allows you to change any category thumbnail image.
The second method allows you to change the default category image in your entire WooCommerce store. It is important to paste the code n your child theme’s function.php file. This ensures that your changes are not lost during an update.
If you need further customization, feel free to contact us. We will help you achieve your desired outcome.

Joe is an experienced full-stack web developer with a decade of industry experience in the LAMP & MERN stacks, WordPress, WooCommerce, and JavaScript – (diverse portfolio). He has a passion for creating elegant and user-friendly solutions and thrives in collaborative environments. In his spare time, he enjoys exploring new tech trends, tinkering with new tools, and contributing to open-source projects. You can hire me here for your next project.
Similar Articles
- How to Redirect a WordPress Page Without Plugins?
- How to Change Add to Cart Text WooCommerce Guide with Examples
- How to Change WordPress Site URL from Database
- How to Change Out Of Stock Text in WooCommerce
- How to Show Only One Category In WooCommerce
- How To Change Favicon In WordPress
- How to Make Phone Number Required WooCommerce
- How to Get Product Name WooCommerce
- How to Display Username In WooCommerce
- How to Remove Archive Title WooCommerce
- How to Create tax_query WooCommerce Example
- How to Add Buy Now Button WooCommerce Without Plugin
- How to Get Product Data WooCommerce
- How to Change Add to Cart Button Text On WooCommerce Shop Page
- How to Add WooCommerce Checkout Email Validation
- How to Add WooCommerce Checkout Default Country
- How to Create WooCommerce Clear Cart Button Shortcode
- How to Change Storefront Theme Order of Products
- How To Add Custom Order Status in WooCommerce
- WooCommerce Single Product Page Show All Categories