 Are you looking for a simple way to change the Favicon image in WordPress? In today’s brief tutorial, we will share the simple steps you need to follow to change this image. In addition, we will share why it is important to add a favicon to your WordPress site.
When you open any webpage, you will see the title of the webpage, and a small icon, known as the favicon on the browser tab. The favicon and the title make it easy for users to identify a website if there are many tabs open in the browser.
How To Change Favicon In WordPress
It is worth mentioning that favicons improve the user experience because they are part of corporate branding. This small icon is an integral part of a company’s online presence. This is why you need to add one to your site.
Let us get right into it.
Summary Steps Change Favicon WordPress
- Why Add a Favicon in WordPress?
- How to Add or Change Favicons in WordPress
- By using the WordPress Customizer
Why is it Important to Add a Favicon in WordPress?
It is important to add a favicon in WordPress because it is shown in WordPress apps, bookmark lists, and mobile search results. The favicon of your site should be straightforward and expressive at the same time.
This makes your website look more serious and professional. In addition, it has a positive effect on SEO and improves the user’s experience of your website.
How to Add or Change Favicons in WordPress
In this section, we will share how you can set a favicon in WordPress. We will show you how to change this image using the WordPress customizer. This means that you do not need any coding experience to implement this solution.
Change Favicons By Using the WordPress Customizer
This is the easiest method for adding a favicon in WordPress. This is because you only need to upload the favicon, crop it if necessary, and then implementing it on your site in a few clicks.
However, it is important to note that your favicon should have a minimum size of 512×512 pixels. In addition, the icon will be displayed with a size of 16×16 pixels in the browser tab. This means that you should check if your logo is still recognizable in the browser tab.
Here are the steps you need to follow:
- The first step is to log into your WordPress site as an admin.
- From the dashboard, navigate to Appearance > Customize.
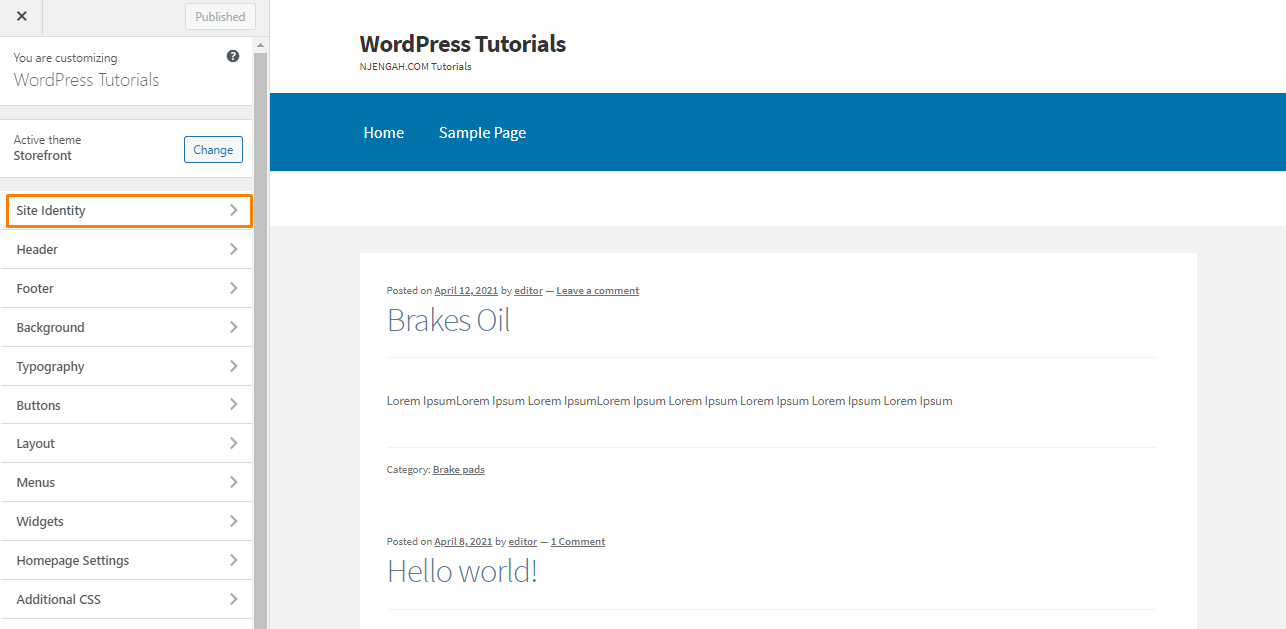
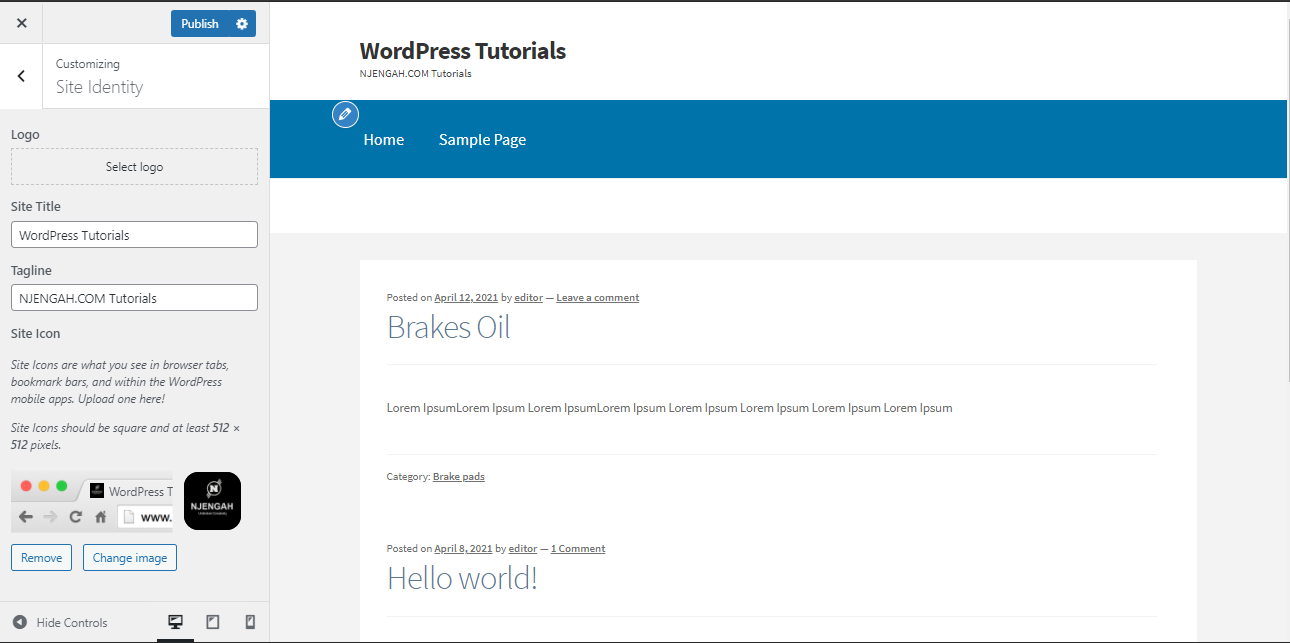
- Once the WordPress Customizer is open, click on “Site Identity” as shown below:
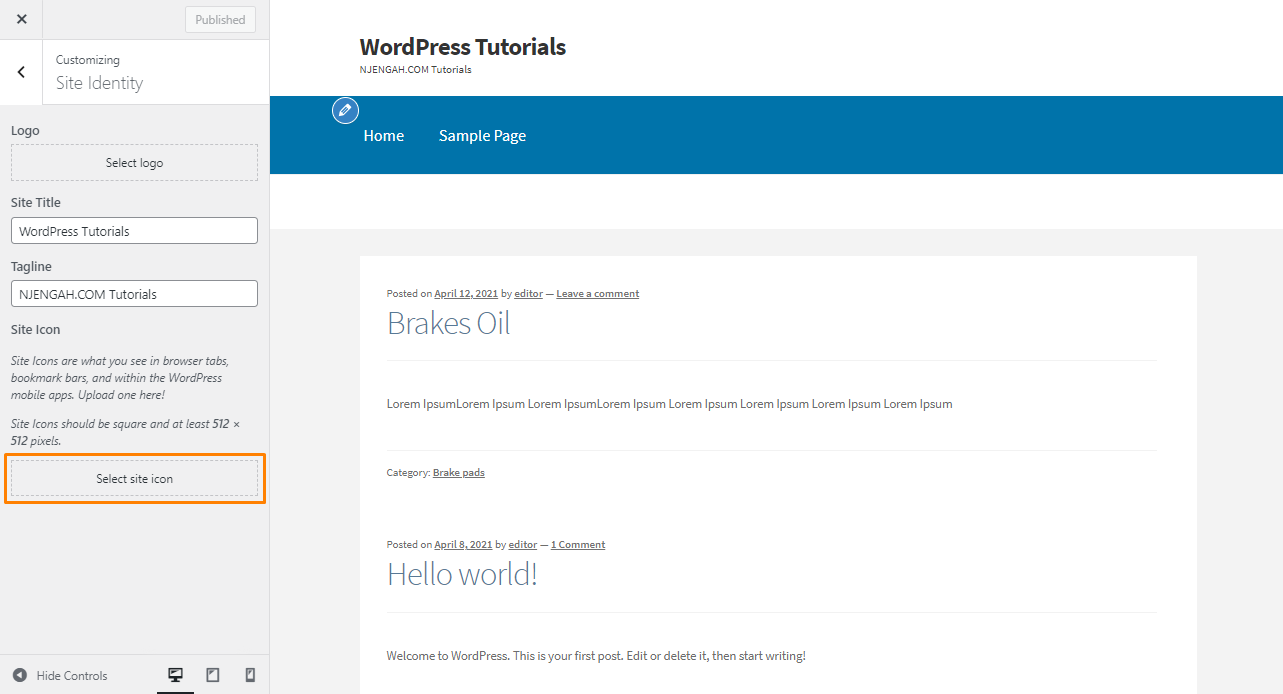
- This section allows you to set the title and tagline of your website, which is displayed next to the favicon in browser tabs. Click on “Select site icon” to open the Media Library, allowing you to change the favicon in your WordPress site.
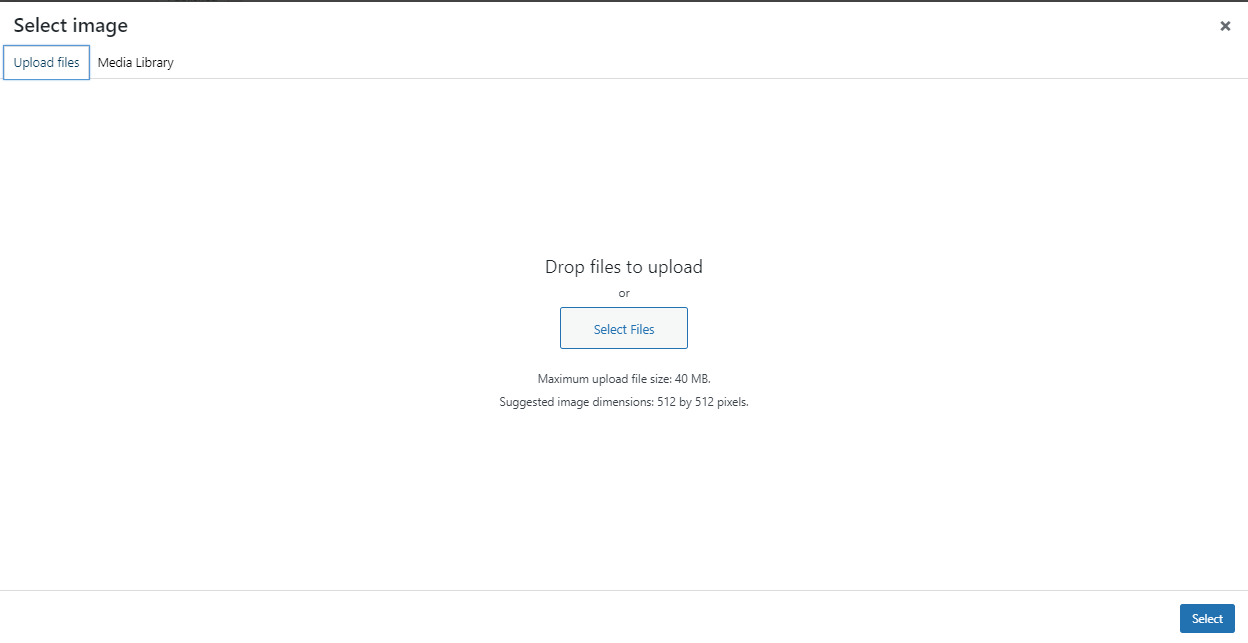
- If you have uploaded the favicon, select it. Otherwise, you can upload it by clicking on “Upload Files”. This allows you to choose the file from the folders on your computer.
- The next step is to crop your favicon image if necessary. It is important to check the preview of your favicon in the menu on the right. If it is sized correctly, simply click on “Skip Cropping”.
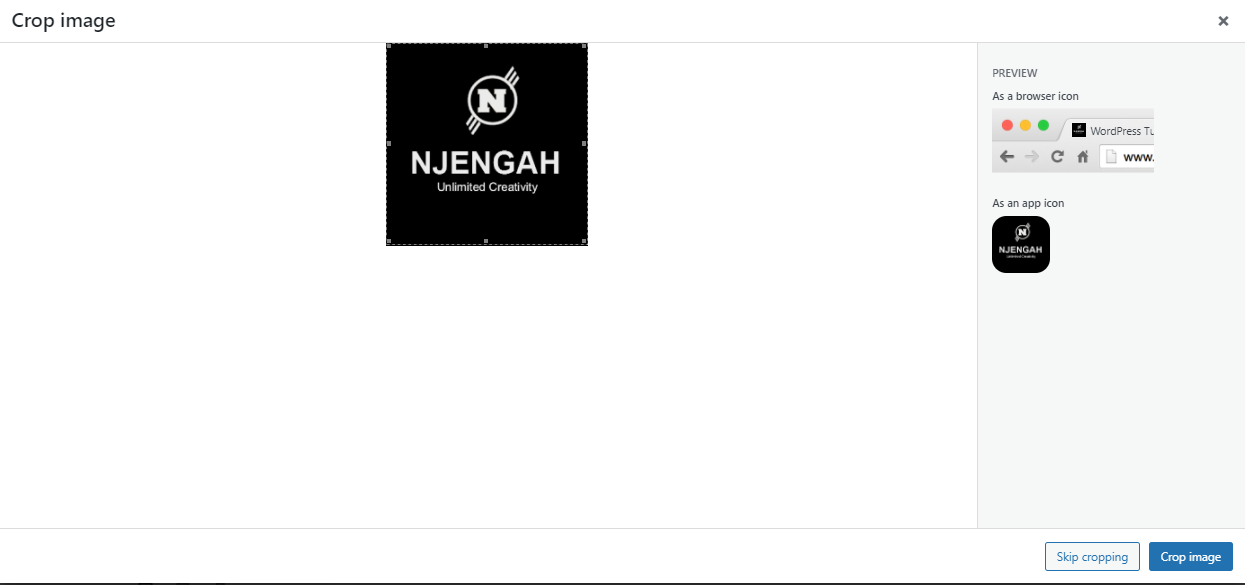
- Once the image is cropped, confirm your selection by clicking “Crop Image”.
- Your favicon will be automatically implemented. If you want to change it again, you need to navigate back to the WordPress Customizer and repeat the same process.
- Click on Publish to save your changes.
Wrapping Up
In this post, you have seen how it is very easy to set or change the favicon image in your WordPress site. In addition, we have shared some of the reasons why you need to add a favicon in WordPress.
We hope that this post helped you to learn more about favicons in WordPress.
Similar Articles
- 30+Best WordPress Membership Plugins Collection
- How to Set Number of Products Per Page WooCommerce
- How to Add Star Rating To WooCommerce Product
- How to Add WooCommerce Custom Checkout Message
- How to Change WooCommerce Checkout Page Title
- How to Set WooCommerce Different Sidebar For Each Category
- How to Update WooCommerce Database
- How to Change Shop Page Title In WooCommerce
- How to Add CAPTCHA WooCommerce Login
- How to Speed Up WooCommerce Website
- How to Add WooCommerce Registration Email Verification
- Wix vs WordPress Complete Comparison » [Features, Pros & Cons]
- How to Get Current Product Category Name in WooCommerce
- How to Change WooCommerce Registration Successful Text
- 15+ Best WordPress Maintenance Services » WordPress Website Care
- How to Change Email Template in WooCommerce
- How to Add Video In Product Image WooCommerce
- How to Change WooCommerce Checkout Background Color
- How To Set Up Shipping Classes in WooCommerce
- How to Send Email on Status Change In WooCommerce