 Do want to know how to display product categories in WooCommerce display product categories in WooCommerce using a custom plugin? This is a quick and easy-to-follow guide to help you. In today’s post, we will illustrate how you can create a custom plugin to display product categories in your store.
It is worth mentioning that WooCommerce allows you to show products, categories, or both products and categories on your archive pages. Most stores select the third option because it allows visitors to either select products right from the home page or refines their search by clicking through to a product category archive.
Read on, as we will share how you can write a function to put categories or subcategories before product listings.
Let us get right into it.
Steps to Display Product Categories in WooCommerce
There are some cases where storeowners and developers do not wish to use inline code. This is a good practice because it ensures that you do not tamper with ‘good code’. It is also a great practice if you want to do extensive customization that could get derailed by adding code to functions.php.
If this is the case, it is important to package all this functionality into a plugin. If you want to switch off this functionality, you will just deactivate the plugin.

Here are the steps you need to follow:
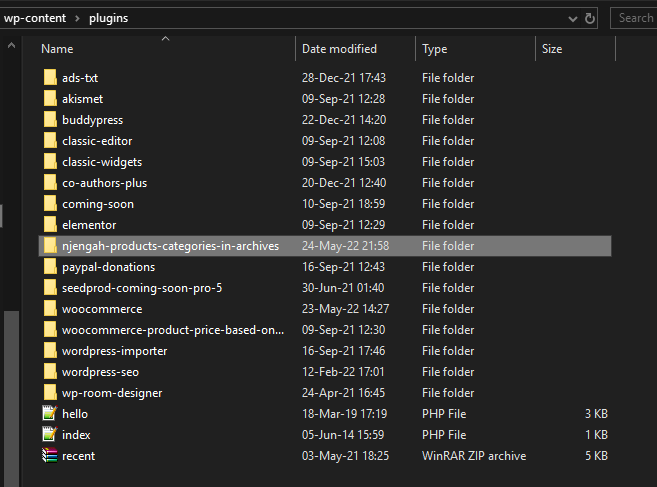
- Create a new folder in your wp-content/plugins directory. Give it a unique name like njengah-products-categories-in-archives. After that, create a new file inside that with a unique name, for example, njengah-product.php.
- Open the file and add the following code
/**
* Plugin Name: WooCommerce Product Category
* Description: Display WooCommerce categories on WooCommerce product pages
**/ [/php]
- Add the following:
}
add_action( ‘woocommerce_before_shop_loop’, ‘njengah_product_subcategories’, 50 ); [/php]
- After that add this code inside the function. It defines the current queried object and defines its ID as $parentid.
$args = array(
‘parent’ => $parentid
);
$terms = get_terms( ‘product_cat’, $args );
if ( $terms ) {
echo ‘<ul class="product-cats">’;
foreach ( $terms as $term ) {
echo ‘<li class="category">’;
woocommerce_subcategory_thumbnail( $term );
echo ‘<h2>’;
echo ‘<a href="’ . esc_url( get_term_link( $term ) ) . ‘" class="’ . $term->slug . ‘">’;
echo $term->name;
echo ‘</a>’;
echo ‘</h2>’;
echo ‘</li>’;
}
echo ‘</ul>’;
} [/php]
- The next step is to create a folder called CSS, and inside that, create a file called style.css.
- After that, in your plugin file having name njengah-product.php. wp_register_style allows you to add you own style.css file that can contain custom CSS code. Add this code:
wp_register_style( ‘njengah_product_cats_css’, plugins_url( ‘css/style.css’, __FILE__ ) );
wp_enqueue_style( ‘njengah_product_cats_css’ );
}
add_action( ‘wp_enqueue_scripts’, ‘njengah_product_cats_css’ ); [/php]
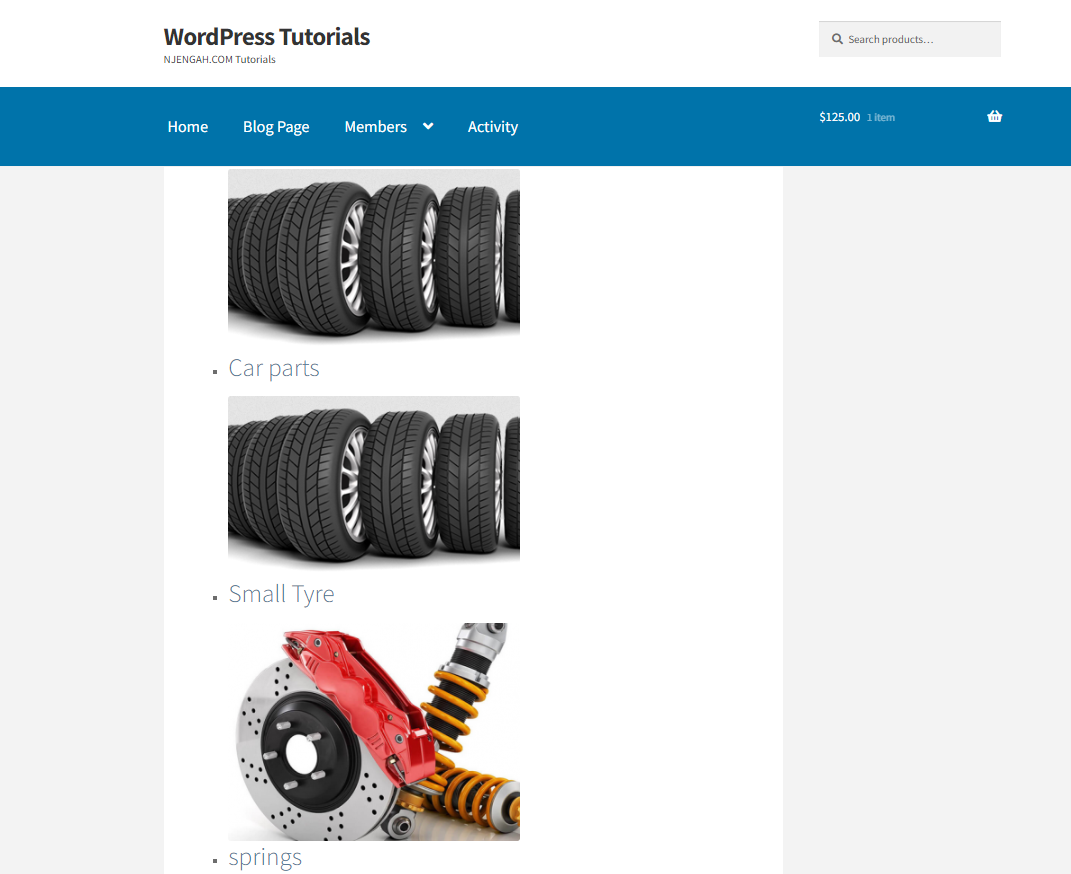
This is the shop page with all the categories listed:
Conclusion
By now, we are sure that you can display product categories in WooCommerce. As you have seen, it is not a complicated process to create a custom plugin. Follow all the instructions carefully to get the best results.
However, if you are not familiar with editing code, we recommend contacting a qualified WordPress developer. This is a great option especially if you are a beginner.
We hope that this post helped you to display product categories in WooCommerce.
Similar Articles
- How to Delete a Category in WordPress
- How to Insert Default Content to WordPress Post Editor Dynamically
- Top 30+ Best WordPress Booking Plugins for Online Booking
- How to Add New Column To WooCommerce Orders Page
- How to Change Out Of Stock Text in WooCommerce
- How to Get Product Brand Name in WooCommerce
- How to Add Subcategories WooCommerce
- How to Change Add to Cart Text WooCommerce Guide with Examples
- How to Create Multiple Widgets in WordPress Using For & Foreach Loops
- How to Show Only One Category In WooCommerce
- How to Remove Product Category from URL WooCommerce Without Plugin
- How to Get WooCommerce States List
- How to Display Username In WooCommerce
- 24+ Best WooCommerce Plugins for Checkout Page Customization
- How to Create Archive Product PHP WooCommerce
- How to Reorder Categories Shop Page WooCommerce Storefront Theme
- How to Add Buy Now Button WooCommerce Without Plugin
- How to Add New WooCommerce Customers to Mailchimp
- How to Create tax_query WooCommerce Example