 Venturing into the world of online shops can feel like a huge milestone. You might want to share audiences and costs with other like-minded businesses to make it easier. This setup creates a shared storefront for multiple sellers on a single website. It is known as a multivendor market place.
Set Up Multi Vendor Storefront Woocommerce
It comprises of many sellers who can create, edit, and control their products. This would generate a lot of revenue because shoppers can add any combination of items to their carts and make all their purchases as part of one checkout. Moreover, this is a great way for a small business to get a little extra help when starting.
Creating a Community for Both Sellers and Customers
The biggest plus of having a multi-vendor store is sharing one storefront, meaning that you are sharing customers. This in turn builds a wider brand by pulling together sellers with common ideals and target audiences. Additionally, you can pass your expertise on to the next generation of entrepreneurs.
This brings people together under one unified brand and the customers can create their community. Your WooCommerce store will become a place where shoppers with common interests gather, and where you can engage with and learn about them.
Benefits of Having a Multivendor Marketplace
Here are some of the benefits of becoming a multi-vendor operation:
- It is an additional income stream. Inviting new vendors into your marketplace allows you to take a commission on each of their sales. This means that you have to establish a standard commission rate across the site. Additionally, you can offer sellers different rates tied to criteria like the number of products and established audiences.
- It allows you to have an expanded audience. New sellers bring new sets of customers. You can choose vendors that all sell complementary products.
- It gives you full control of the members. Since you are the market owner, you are in full control of what is displayed on your site. You should only pick the vendors that fit the overall brand you are building.
- Shared responsibility. Having a multivendor marketplace will spread the responsibility of running and maintaining the site by designating administrative users who have control over the shop. They can approve vendors and products, deal with password issues, and manage featured products on your behalf.
Benefits to sellers
Merchants will benefit from instant access to a shared audience and will not have to incur the expense or effort to build a shop from scratch. Here are some of the benefits they will get:
- They can create their products and control their inventory. Merchants are granted limited access to create products, upload images, set prices, and describe their creations in the most accurate way.
- They can set their shipping rates. Sellers can set favorable shipping rates for their products. This means that they are not tied to a strict pricing structure.
- They can add customer notes. Sellers can speak directly to their customers through order confirmation emails that include delivery details, instructions, or required disclaimers without full administrative access.
- They can get reports. Merchants can get reports that visualize their sales numbers and customer information. Vendors can then use this data to make well-informed decisions when they are listing products and to drive their marketing campaigns.
Steps to Set Up a Multivendor Store Using the Storefront Theme
To set up a multivendor Marketplace, start by setting up a WordPress site and installing WooCommerce. Additionally, I am going to be using the storefront theme. I will use the WC Marketplace plugin, which is one of the best WooCommerce multi-vendor marketplace solutions.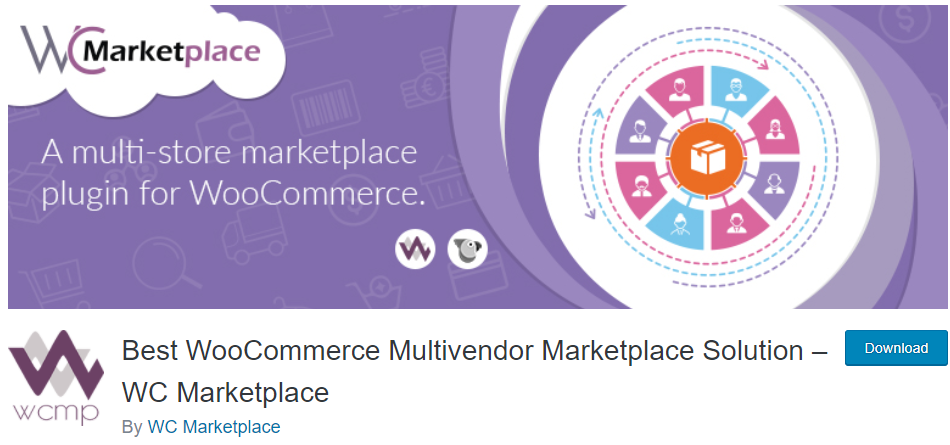
This plugin will turn your dreams into a reality, as you will have a store like Amazon, eBay, or Flipkart.
Here are the steps that you need to follow:
- Log into your WordPress site and access the Dashboard as the admin user.
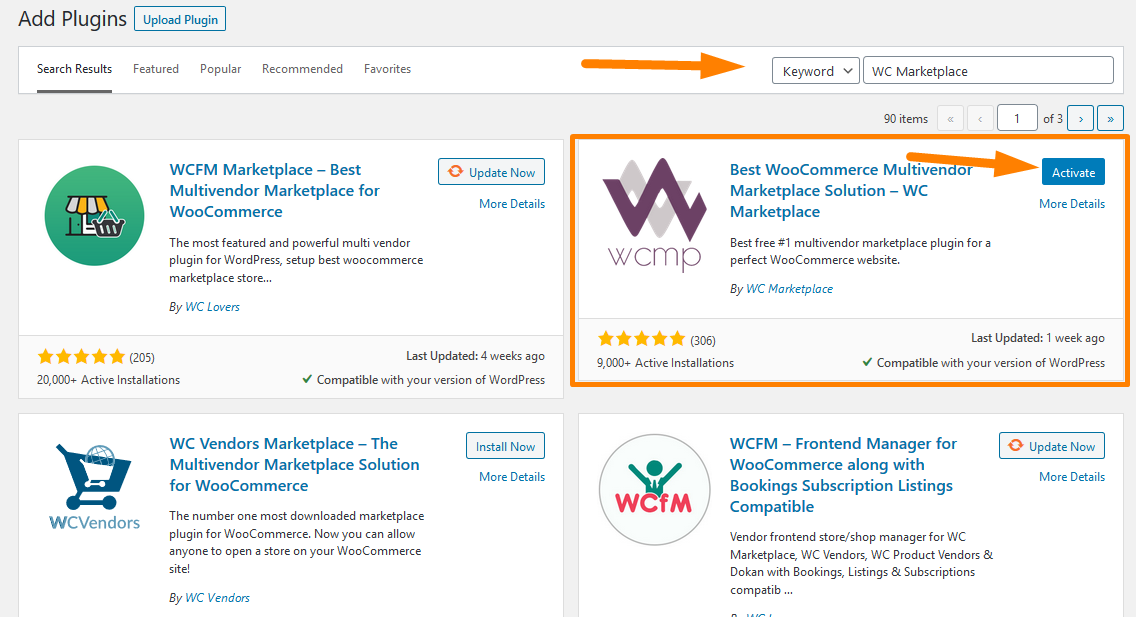
- Then, we are going to install the plugin that we have indicated earlier. To download it directly in the Admin Panel, simply navigate to Plugins > Add New. After that, you will need to do a keyword search for the plugin ‘WC Marketplace’. You need to install and activate it as shown below:
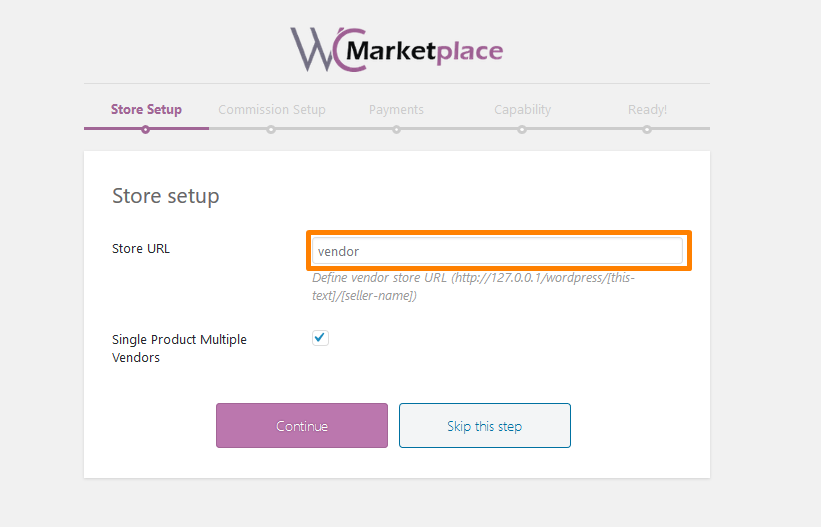
- After activating the plugin, a new window will appear where you will follow a series of steps to set up your store, commission details, payments, and capability.
- First, you need to enter the Store URL. You can also allow multiple vendors to have a single product.
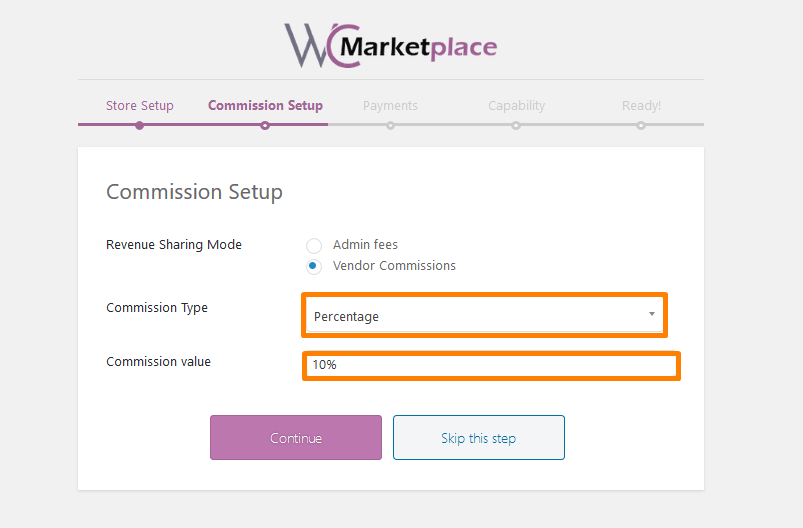
- Next is setting the commission type. You can choose a fixed amount or a percentage that will be deducted from the sales. Click Continue when you are done.
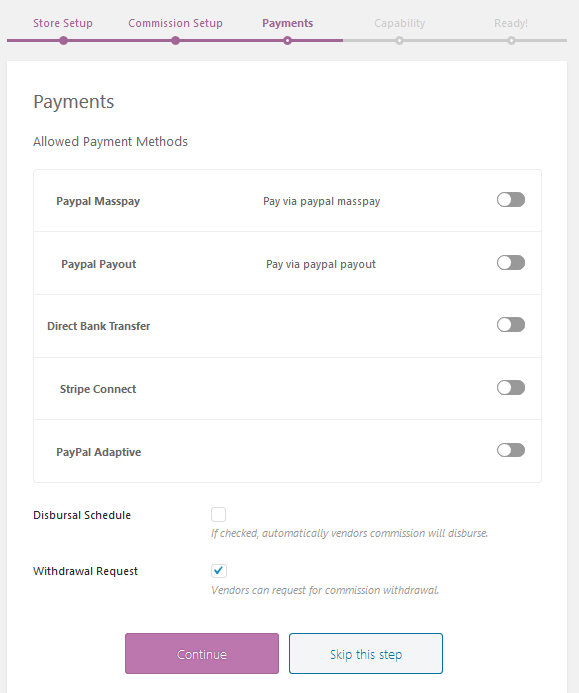
- You need to choose the payment methods that you want to allow in your online store. Click Continue when you are done.
- After that, you can set some restrictions to your vendors as shown below:
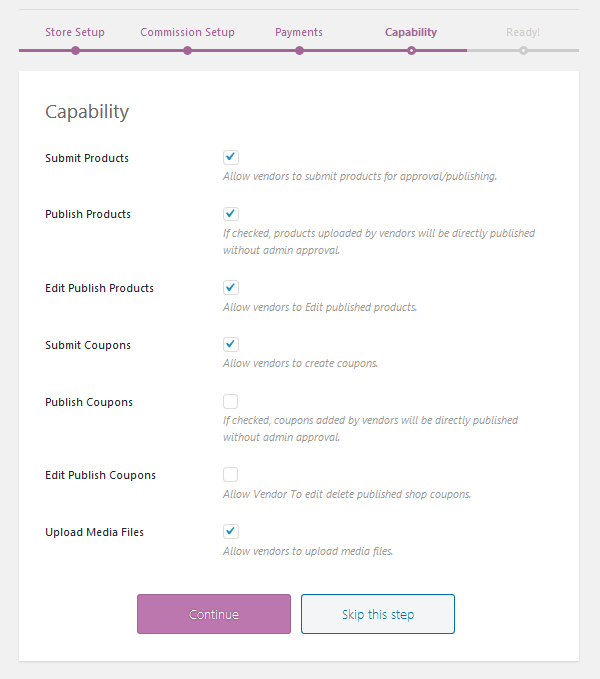
Click Continue when you are done.
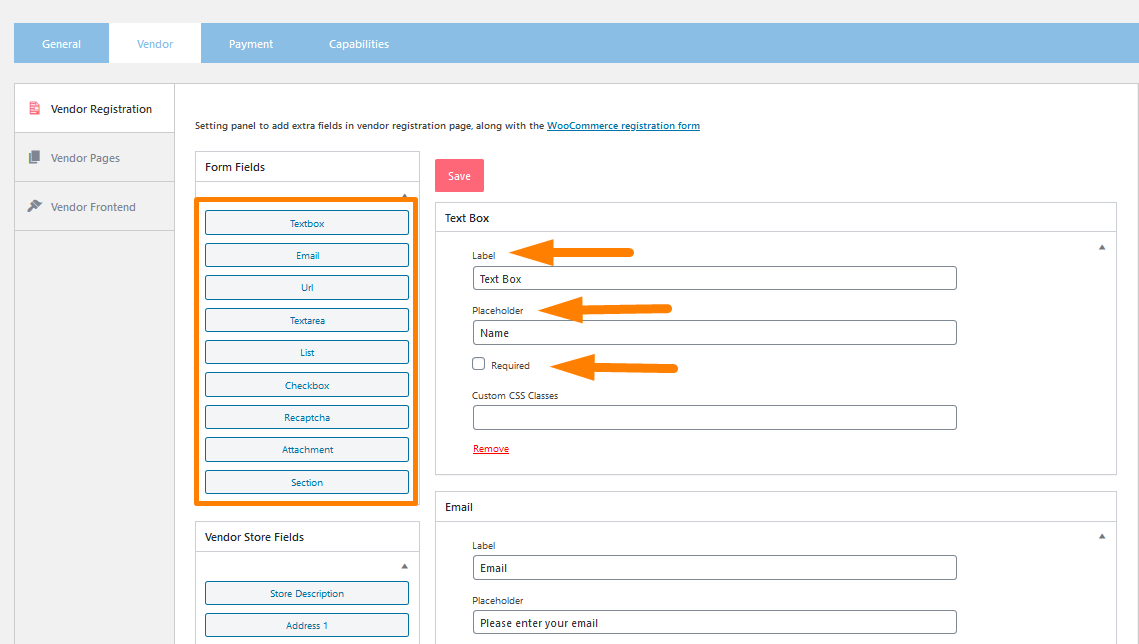
- Now you are done and you can go ahead and create your vendor registration form.

- After the initial configuration is done, you need to create a registration form that vendors will use to sign up. Creating the form is easy and all you need is to add the placeholder name. Remember to save once you are done.
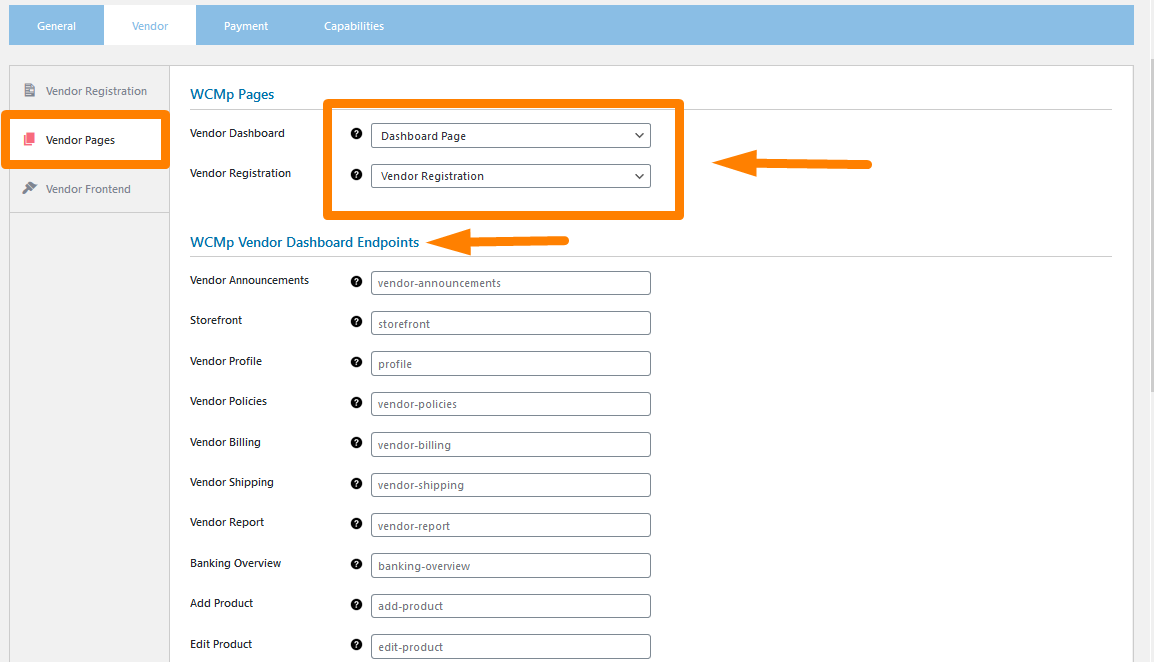
- After that, click on the Vendor pages tab and you need to set the vendor dashboard page and the vendor registration page. However, you need to create the pages for the dashboard and registration and pasting the shortcode provided. You can also add the vendor dashboard endpoints. Remember to save the changes once you are done:
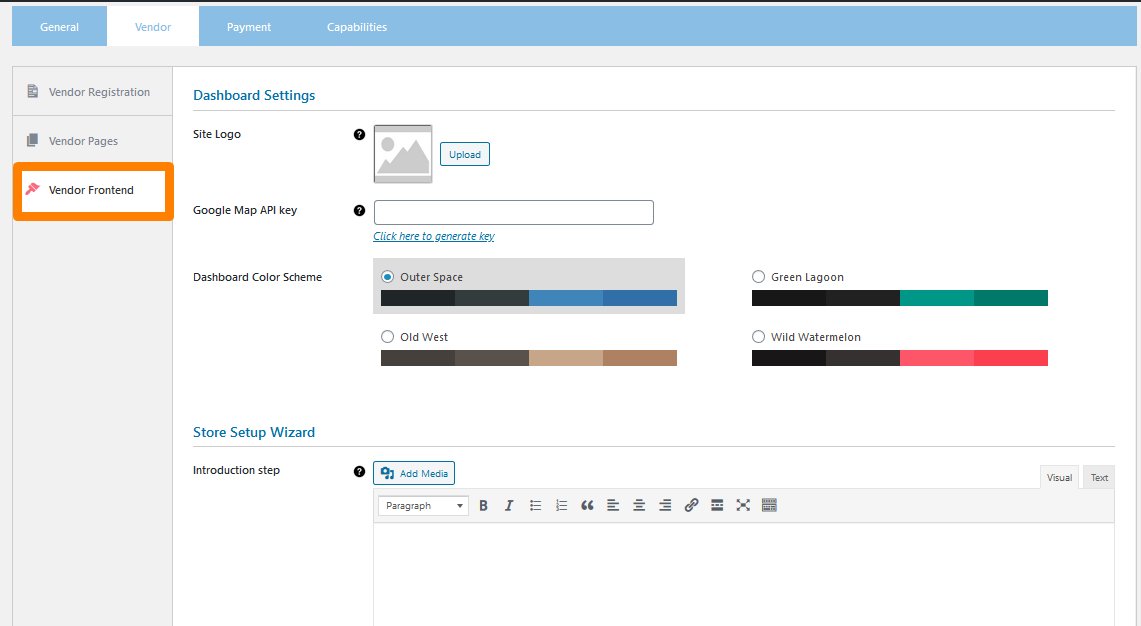
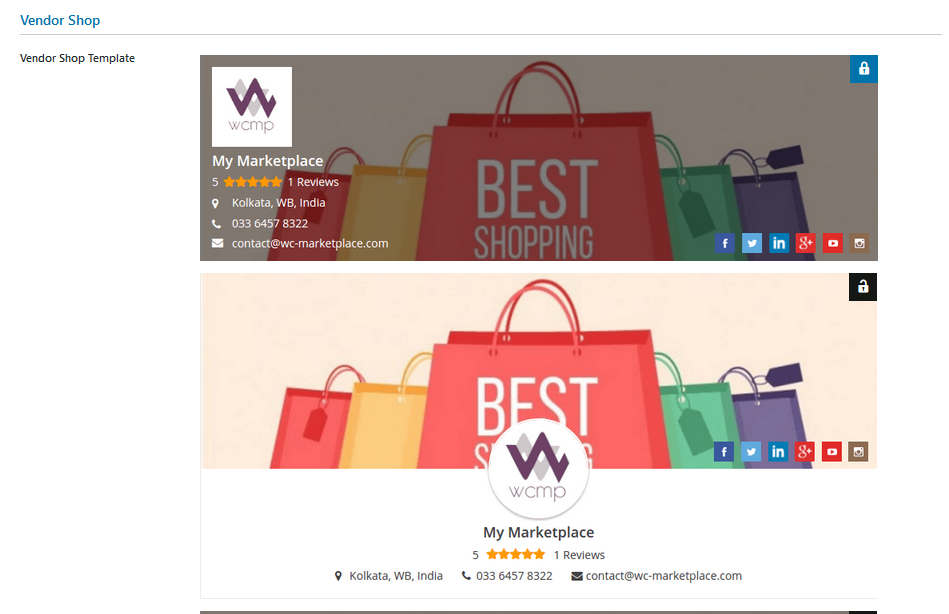
- On the user frontend tab, enter the Dashboard settings and the Store setup wizard. Additionally, you need to pick a Vendor shop template. Remember to save the changes.
- Once that is done you can now add vendors
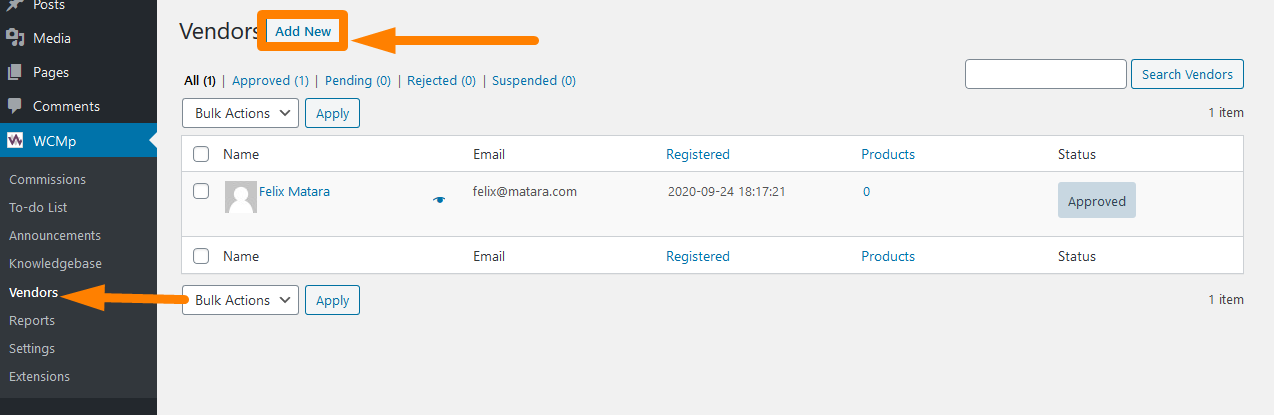
You can edit the personal information of any vendor: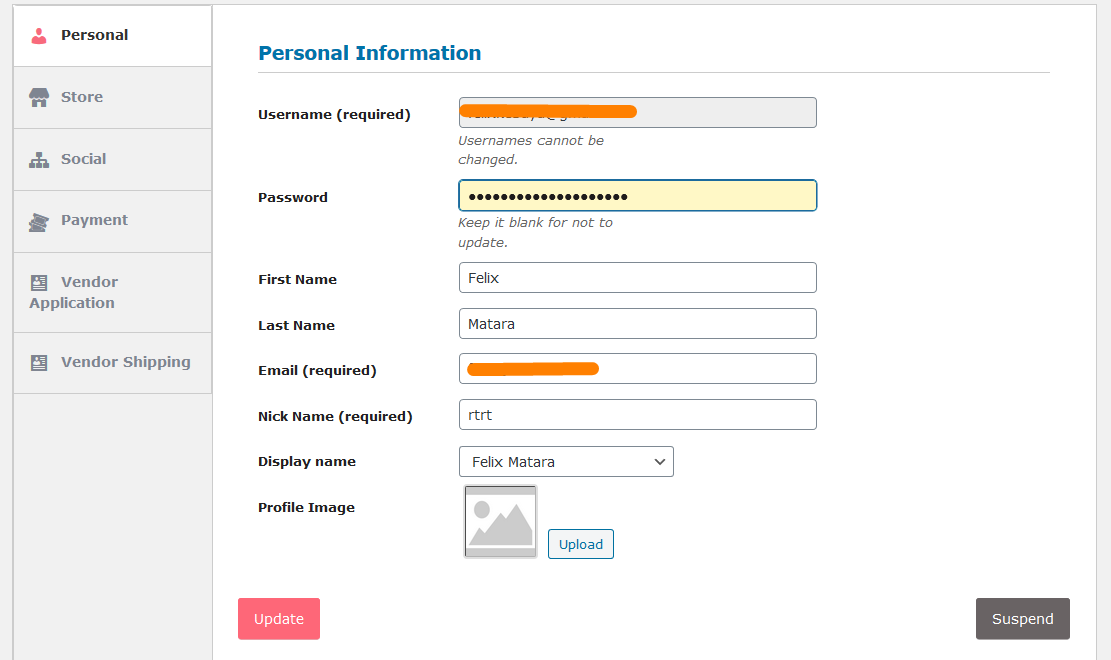
Vendor Setup
Now that you have added all the vendors, you can distribute the link of your store and they can log in: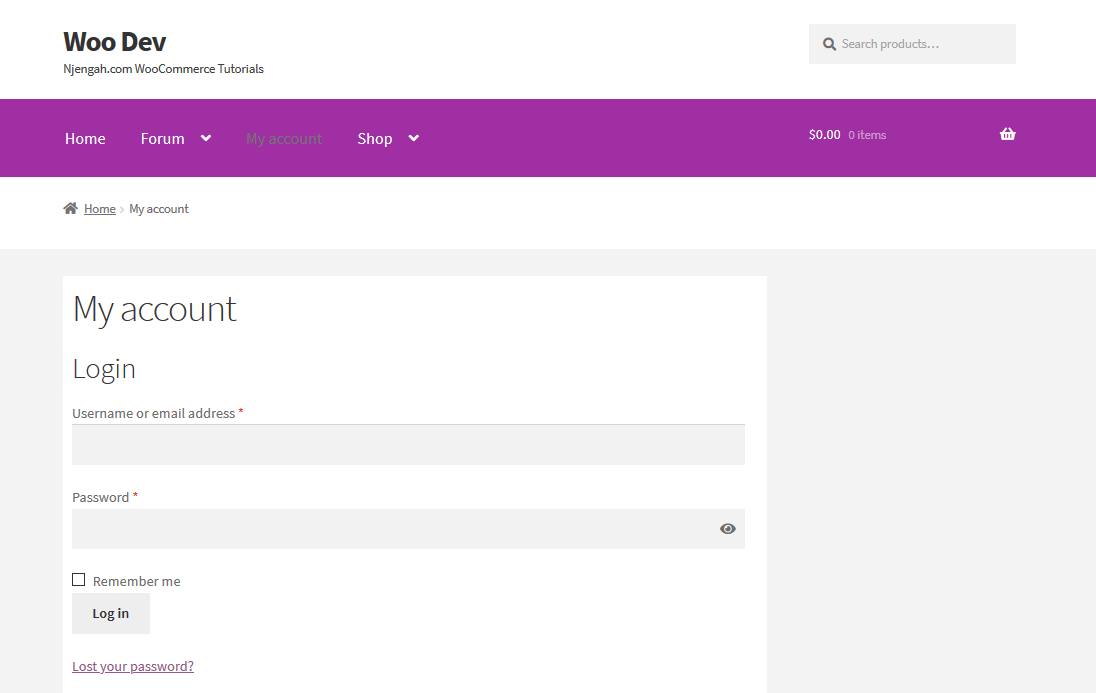
After logging in, the vendor needs to configure some details. A welcome message will appear bearing the name of the store: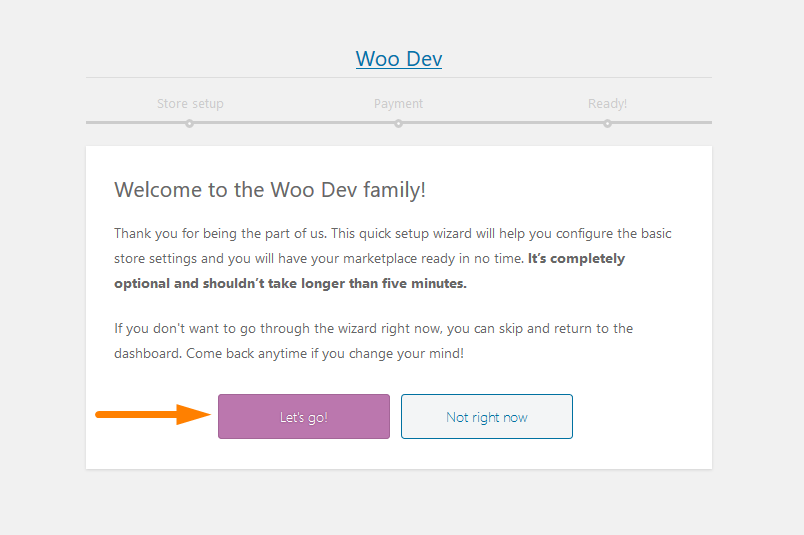
After clicking on let’s go, the vendor can set up the store details as shown below: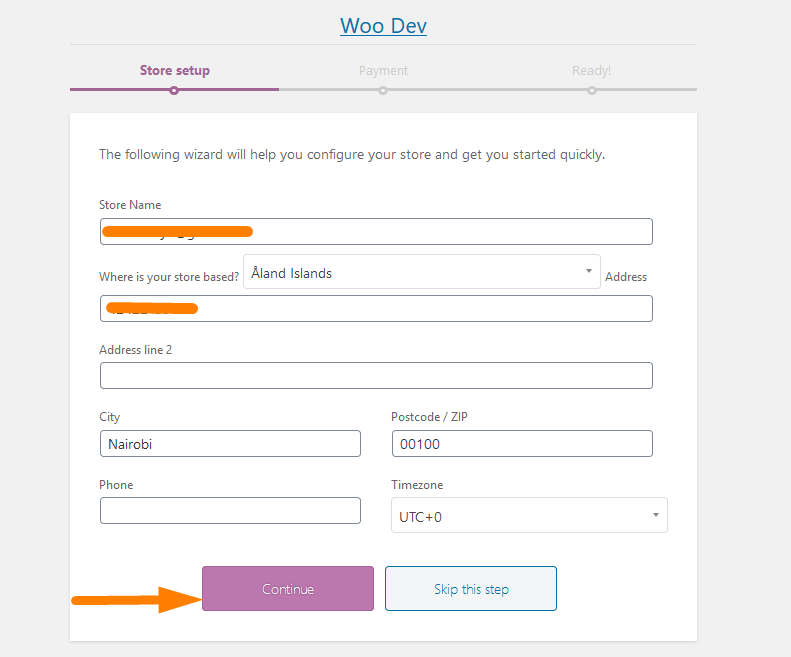
After adding the store details, the vendor needs to choose a preferred payment method: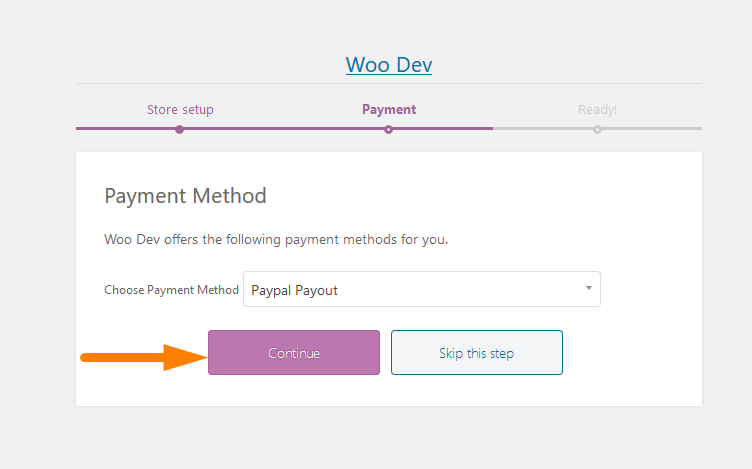
Now the vendor can start selling but not before creating the products.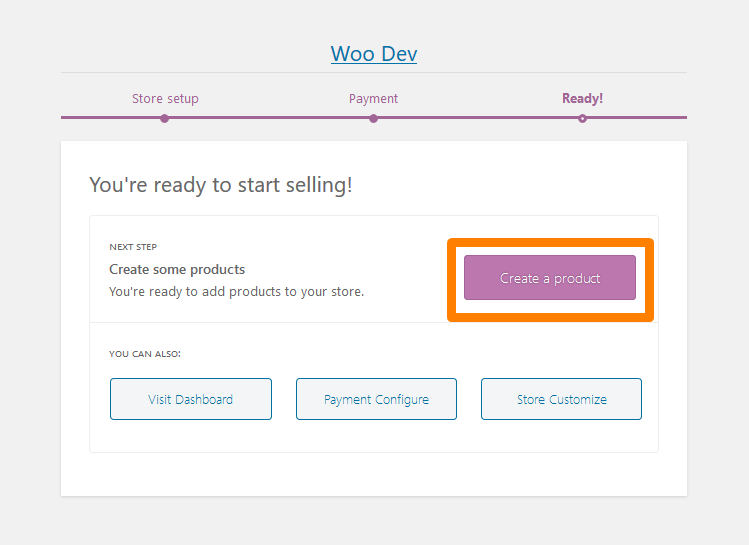
This is the vendor backend where the user can add the products and see the reports: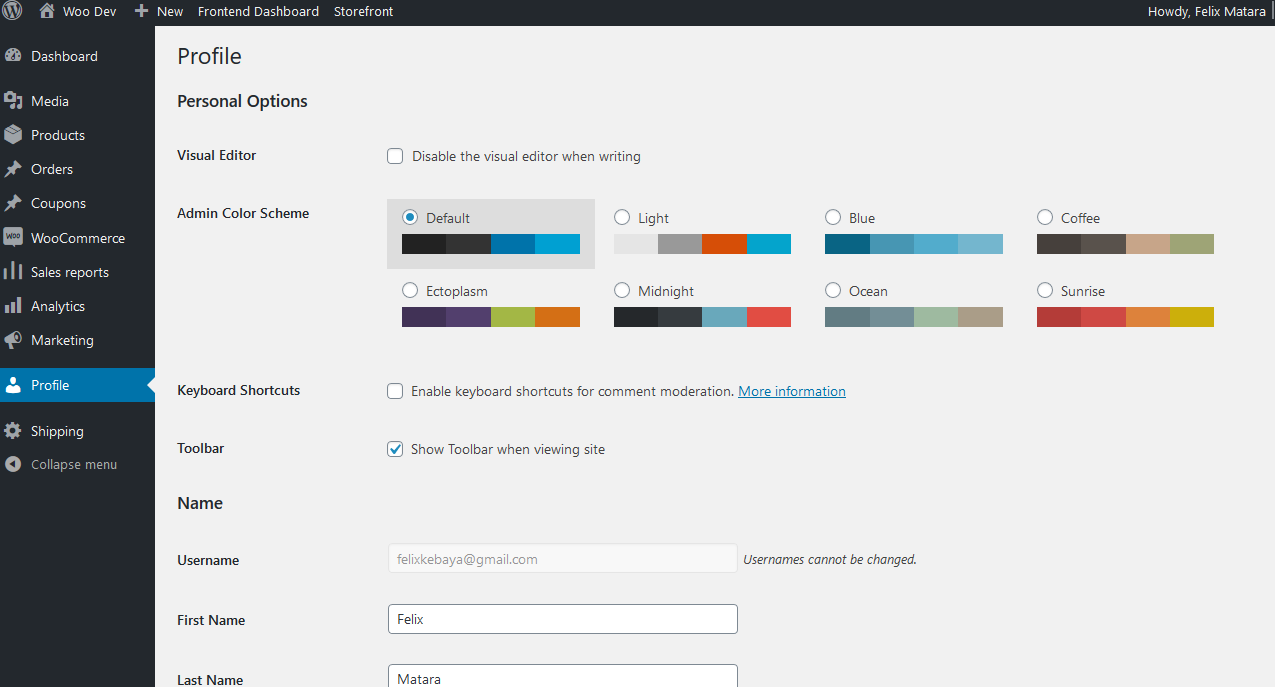
Conclusion
In this post, I have shown you how you can set up a multivendor store using the WC Marketplace plugin. This plugin is very easy to use and it simplifies the process of creating a multivendor store. It allows you to create a community with vendors and in turn builds a wider brand by pulling together sellers with common ideals and target audiences. Additionally, all the vendors share customers can create their community.
This plugin turns your WooCommerce store to a place where shoppers with common interests gather, and where you can engage with and learn about them. Moreover, I have highlighted the benefits you will get from having a multi-vendor marketplace such as shared responsibility, additional income stream, and full control of members.
The vendors also benefit from this as they can create their products, set shipping rates, and they can get reports about their earnings. Moreover, I took you through a systematic guide on how you can set up the multi-vendor store using the WC Marketplace plugin. Now go ahead and start earning commission from vendor sales in your WooCommerce multi-vendor store.
Similar Articles
- How to Rename Order Status Messages in WooCommerce
- Hide or Remove the Quantity Field from WooCommerce Product Page
- How to Install WooCommerce Storefront Step By Step [Complete Guide]