Are you looking for a simple and easy way to add Terms and Conditions on the registration page?
In today’s post, we will share a custom code we made specifically for adding Terms and Conditions to this page.
If you have some coding experience, you will not have a hard time implementing this solution. However, we will try to explain each step in detail.
It is worth mentioning that a terms and conditions document is very important in any online store.
This document contains a set of rules and guidelines that users must agree with when registering as a member of your store.
In addition, payment gateways like Authorize.net require that you post terms and conditions documents on your website.
It is important to note that WooCommerce has a built-in option for adding this feature on the checkout page. This means that we need a custom solution to add it to the registration page. This is why we created this tutorial to help you out.
WooCommerce Accept Terms and Conditions Checkbox On Registration Form
By the end of this post, you will be able to edit the registration page by adding Accept Terms and Conditions on the registration page.
To achieve this, we will edit some of WooCommerce’s core files. This is why it is essential to install or create a child theme. It will ensure that the changes you make are not lost during an update.
With that in mind, let us get right into it.
Steps to Add Accept Terms and Conditions Checkbox On the Registration Form
Here are the simple steps you need to follow:
- Log into your WordPress site and access the dashboard as the admin user
- Create a terms and conditions document by navigating to Pages > Add New. Add your document to this page, and remember to add all the relevant rules and regulations. You can check for templates online to make your work easier.
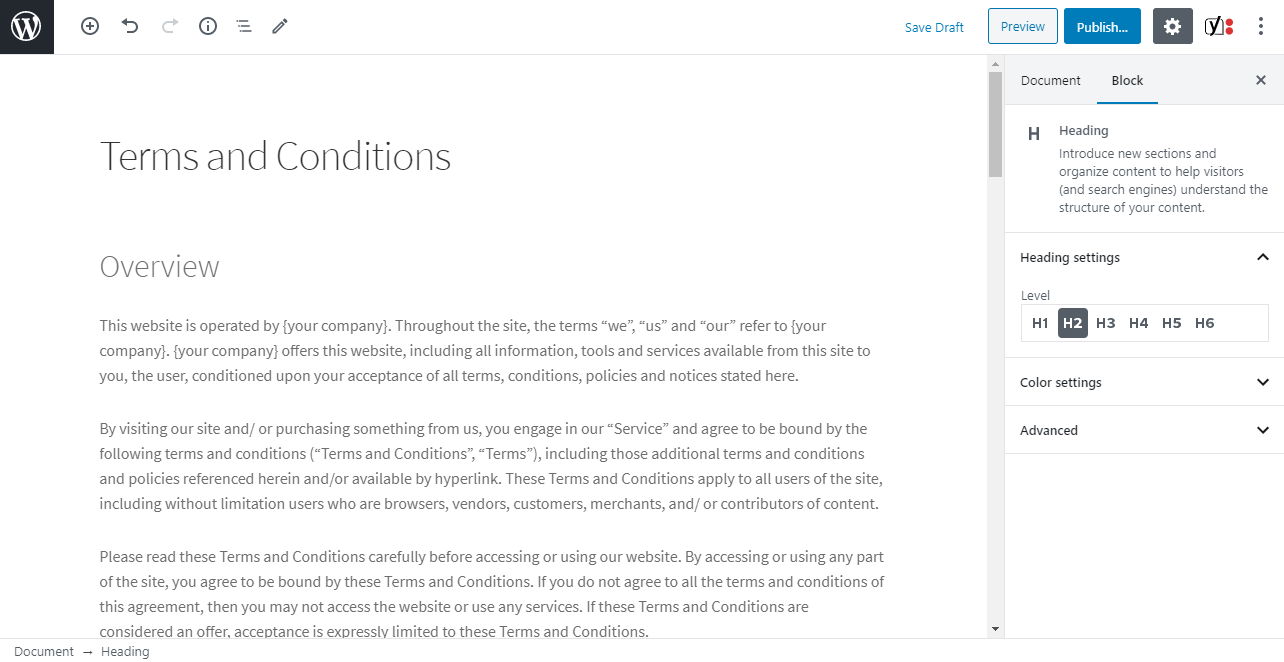
- Save and publish the Terms and Conditions page.
- To enable that page in Appearance > Customize > WooCommerce > Checkout.
- In the Terms and Conditions page list, select the Terms and Conditions page you just created.

- Remember to save your changes.
- The next step is to add the following code in the functions.php file to add the term and conditions check box on the registration form:
// Add term and conditions check box on the registration form
add_action( 'woocommerce_register_form', 'njengah_terms_and_conditions_to_registration', 20 );
function njengah_terms_and_conditions_to_registration() {
if ( wc_get_page_id( 'terms' ) > 0 && is_account_page() ) {
?>
<p class="form-row terms wc-terms-and-conditions">
<label class="woocommerce-form__label woocommerce-form__label-for-checkbox checkbox">
<input type="checkbox" class="woocommerce-form__input woocommerce-form__input-checkbox input-checkbox" name="terms" <?php checked( apply_filters( 'woocommerce_terms_is_checked_default', isset( $_POST['terms'] ) ), true ); ?> id="terms" /> <span><?php printf( __( 'I’ve read and accept the <a href="%s" target="_blank" class="woocommerce-terms-and-conditions-link">terms & conditions</a>', 'woocommerce' ), esc_url( wc_get_page_permalink( 'terms' ) ) ); ?></span> <span class="required">*</span>
</label>
<input type="hidden" name="terms-field" value="1" />
</p>
<?php
}
}
// Validate required term and conditions check box
add_action( 'woocommerce_register_post', 'terms_and_conditions_validation', 20, 3 );
function terms_and_conditions_validation( $username, $email, $validation_errors ) {
if ( ! isset( $_POST['terms'] ) )
$validation_errors->add( 'terms_error', __( 'Terms and condition are not checked!', 'woocommerce' ) );
return $validation_errors;
}
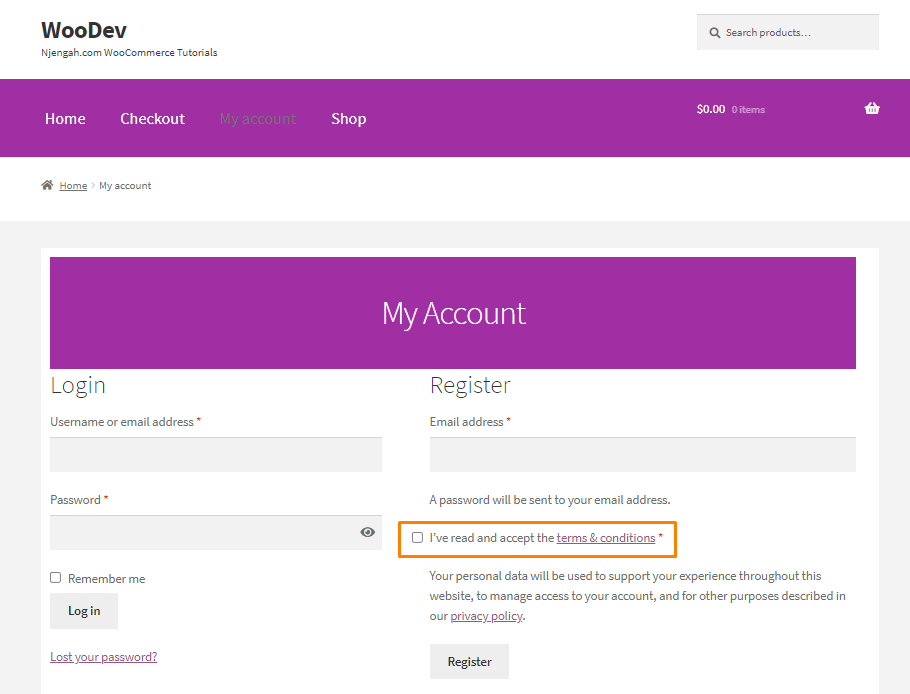
- This is the outcome:
- If you want to allow it only on the Registration page use one of the following:
add_filter( 'woocommerce_checkout_show_terms', '__return_false' );
Conclusion
In summary, you have seen how it is easy to add the accept terms and conditions checkbox on the registration form. We have also shared a snippet to display it only on the registration page.
However, you should be very careful when editing the functions file. If you make a mistake, a critical error will be displayed on your site.
We hope that this tutorial helped you to find the solution you were looking for.

Joe is an experienced full-stack web developer with a decade of industry experience in the LAMP & MERN stacks, WordPress, WooCommerce, and JavaScript – (diverse portfolio). He has a passion for creating elegant and user-friendly solutions and thrives in collaborative environments. In his spare time, he enjoys exploring new tech trends, tinkering with new tools, and contributing to open-source projects. You can hire me here for your next project.
Similar Articles
- How to Backup WooCommerce Database
- How to Integrate MailChimp With WooCommerce
- How to Login to WooCommerce Admin
- How to Migrate from Shopify to WooCommerce
- How to Customize WooCommerce Product Pages With Elementor Pro
- How to Get Product Brand Name in WooCommerce
- How to Add Contact Form With Elementor & Contact Form Plugins
- WooCommerce Create Custom Single Product Page
- How to Add Custom Product Fields WooCommerce
- How to Upload Image On Product Page In WooCommerce