 Do you want to have a less complicated checkout process to have a positive impact on your conversion rates? In today’s in-depth review, you will learn what PeachPay is, how to set it up, and the different features available on the PeachPay plugin for WooCommerce.
If customers in your store are required to create a new account, or they have to provide additional details before placing an order, they are likely to abandon the checkout process. Abandoned carts are a challenge to every existing WooCommerce store.
According to a study by Baymard, approximately 70% of customers abandon their cart without completing a purchase. After they abandon their carts, they go to buy products in another store just because of the complicated checkout process in your WooCommerce store.
Cart abandonment is when customers add products to their cart but don’t complete the purchase. One of the major reasons for this is having a complicated checkout process.
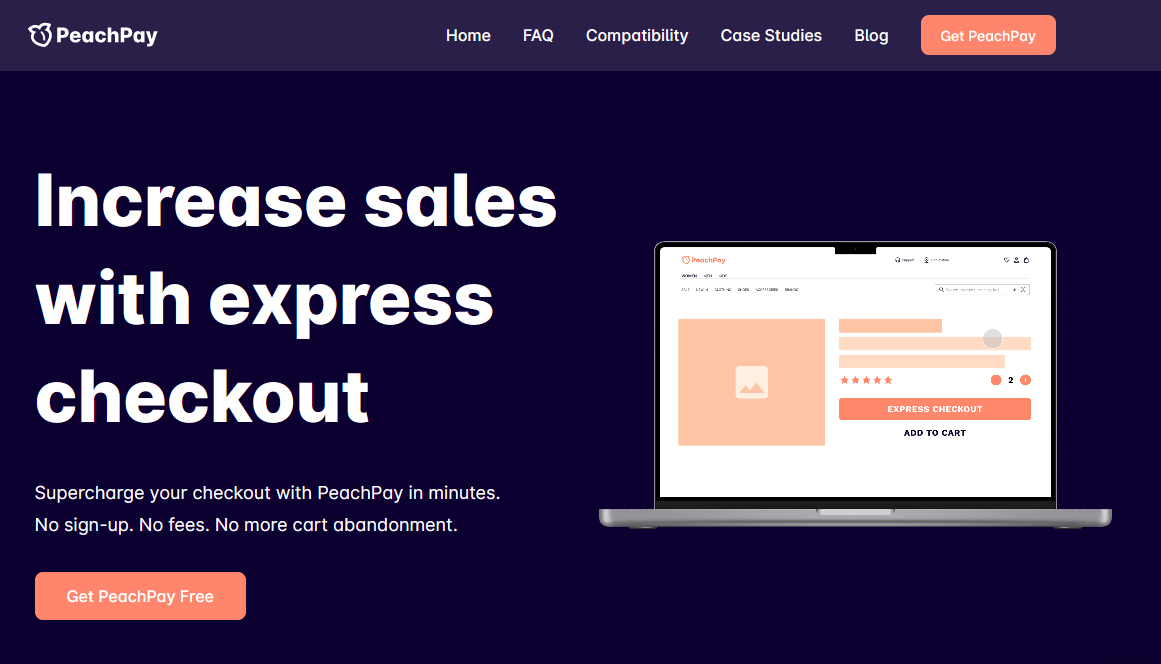
To overcome this issue, we will illustrate how you can use the PeachPay plugin for WooCommerce. This solution provides an express checkout to reduce the average checkout time and, in the long run, boost conversions.
Many online stores use PeachPay because it ensures that returning customers can order any product they want, with just a single click. If the checkout process is smooth, they are likely to complete a purchase.
Let us learn more about PeachPay, how easy it is to use, and how to set it up.
Table of Contents
- What is PeachPay?
- How to Set Up PeachPay in WooCommerce (Onboarding Process)
- Main Features of PeachPay
What is PeachPay?
PeachPay is a free plugin with pricing that is built into the payment processor. This is the same as PayPal or Stripe’s standard transaction fee. This allows you to decide if it is a worthwhile addition to your WooCommerce store.
PeachPay currently Stripe, PayPal, Apple Pay, Google Pay, Klarna, and AfterPay.
It has a unique pricing method that does not affect transactional charges. In addition, it does not affect the final amount that the customer is required to pay.
Most WooCommerce store owners recommend PeachPay because it does not have restrictions. This means that you can access all the features included in this useful plugin.
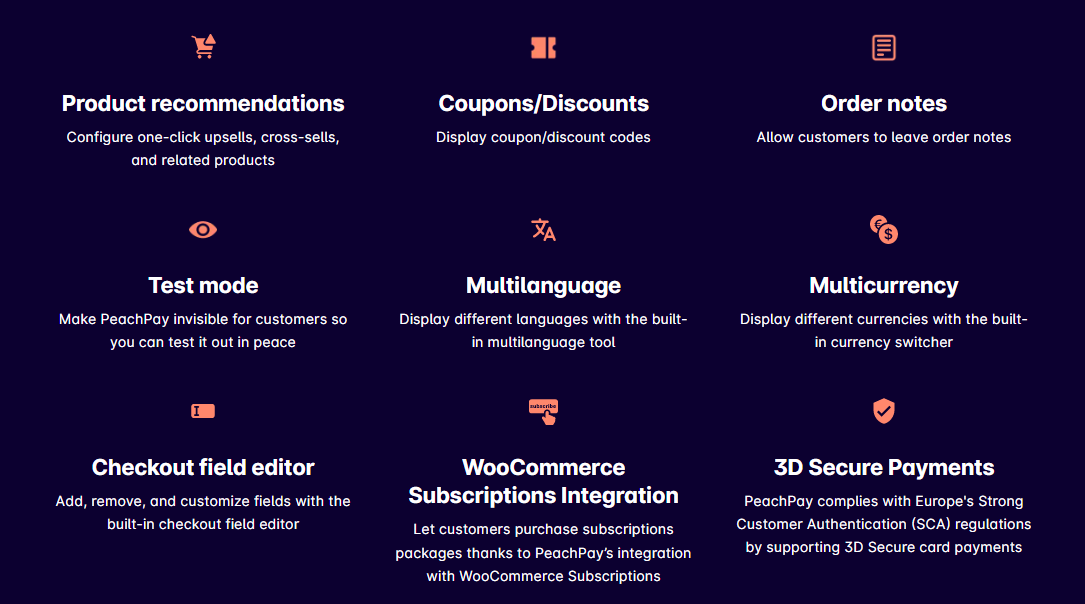 Before you proceed to the PeachPay onboarding process, here are some of its benefits:
- It allows customers to leave order notes.
- It allows store owners to display coupon codes or discounts that are active.
- It has a test mode option that makes it invisible to customers. This allows you to test different features without interruption.
- It features a Multilanguage tool that allows you to display different languages.
- Store owners can let customers purchase subscription packages. This is because of PeachPay’s integration with WooCommerce Subscriptions.
- PeachPay supports 3D Secure card payments. This complies with Europe’s Strong Customer Authentication (SCA) regulations.
- It comes with a checkout field editor that allows you to add, remove, and customize fields. This means that you do not have to worry about creating custom code snippets to remove different checkout fields.
- It allows you to display different currencies, thanks to its currency switcher.
- It allows you to include product recommendations. You can configure one-click upsells, cross-sells, and related products.
After adding the one-click window checkout on every page of your store, it will be easy for customers to complete a purchase. PeachPay will also have Returning Customers’ information saved for a one-click checkout.
How to Set Up PeachPay in WooCommerce (Onboarding Process)
The simple set up and onboarding process will take you five minutes or less. You do not require any coding experience to set it up. It is worth mentioning that PeachPay is compatible with WooCommerce, most themes, and site builders out out-of-the-box.
To set up PeachPay in WooCommerce, you need to download it for free from the WordPress Plugins Directory.

Install the plugin and activate it.
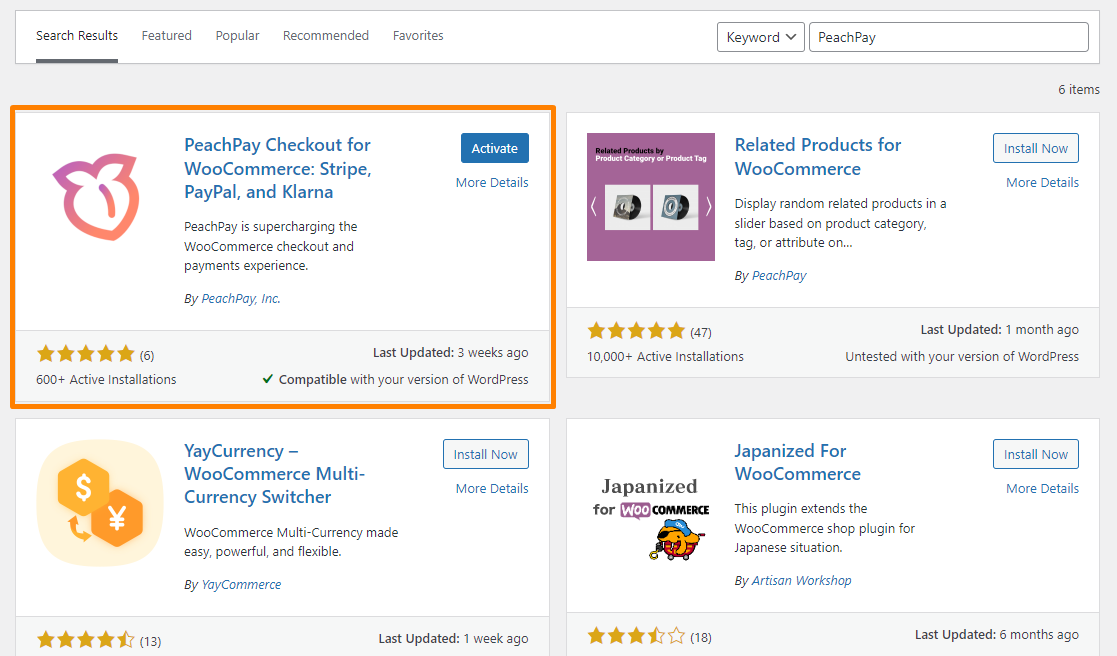 Alternatively, click on the Get PeachPay Free button to set up PeachPay on your website with their setup wizard.
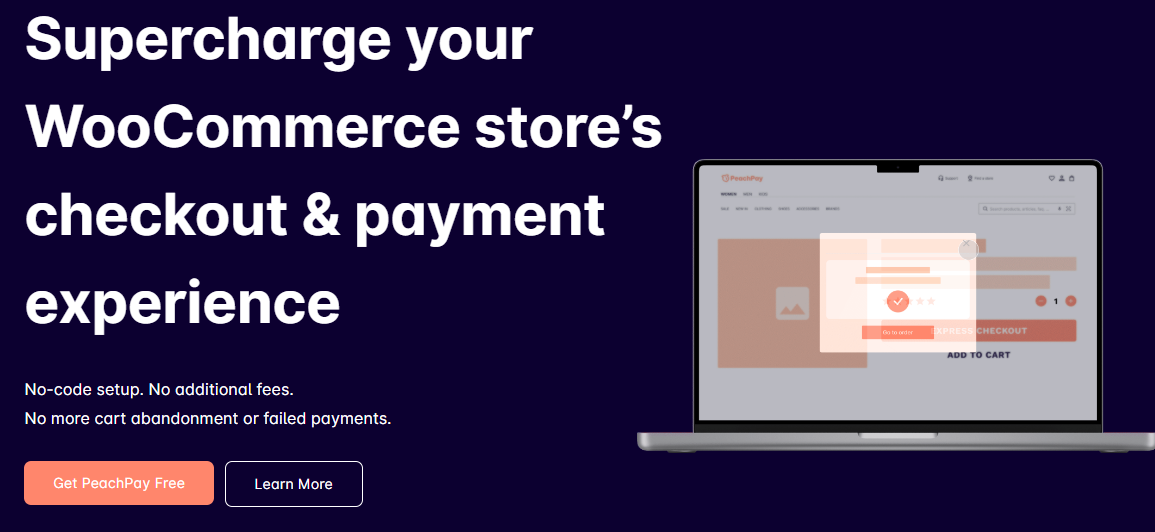
1. Connecting WooCommerce
If you want PeachPay to work in your WooCommerce store, you need to connect it with WooCommerce. It is not a complicated process.
After activating the PeachPay plugin, a pop-up will appear. All you need to do is click Approve to give PeachPay Read/Write access.
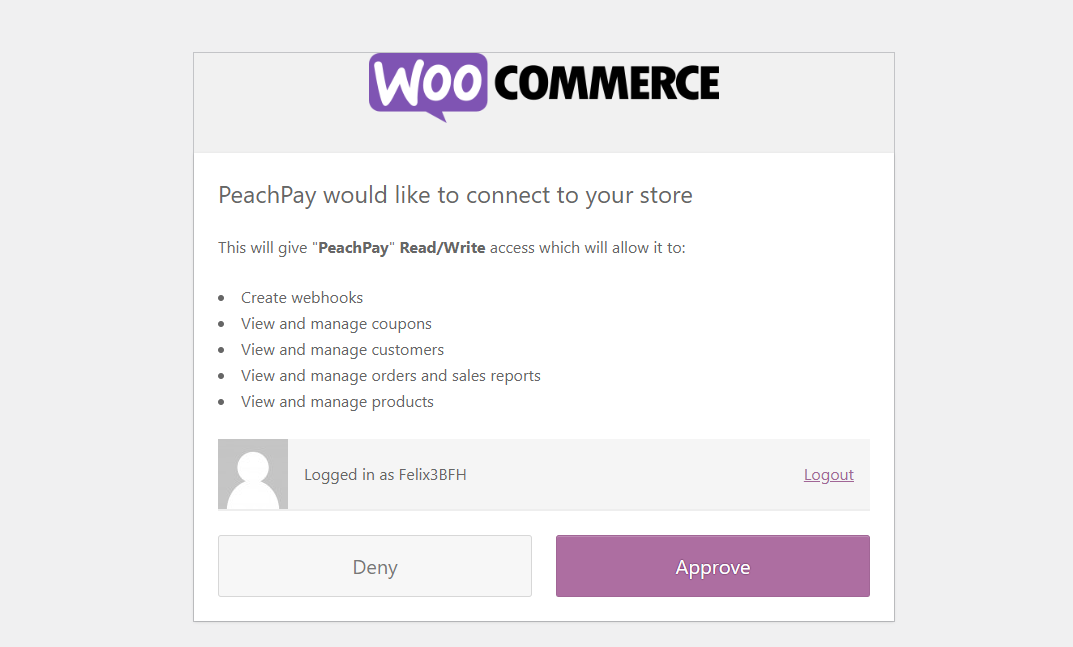 You do not need to worry about the plugin conflicting with functionalities in your store. After granting the permission, the plugin can complete fulfilling orders.
2. Setting Up The Payment Processor
The next step is to choose the payment method to display in the PeachPay checkout window. Here, you can select Stripe, PayPal, Apple Pay, Google Pay, Klarna, and AfterPay.
It is important to note that PeachPay will guide you through your first selection. Once you are familiar with the process, you can set other payments from the plugin settings.
If you choose any mode of payment, you need to set it up separately. All you need to do is follow the instructions.
If you have an account, you can simply log straight into the account.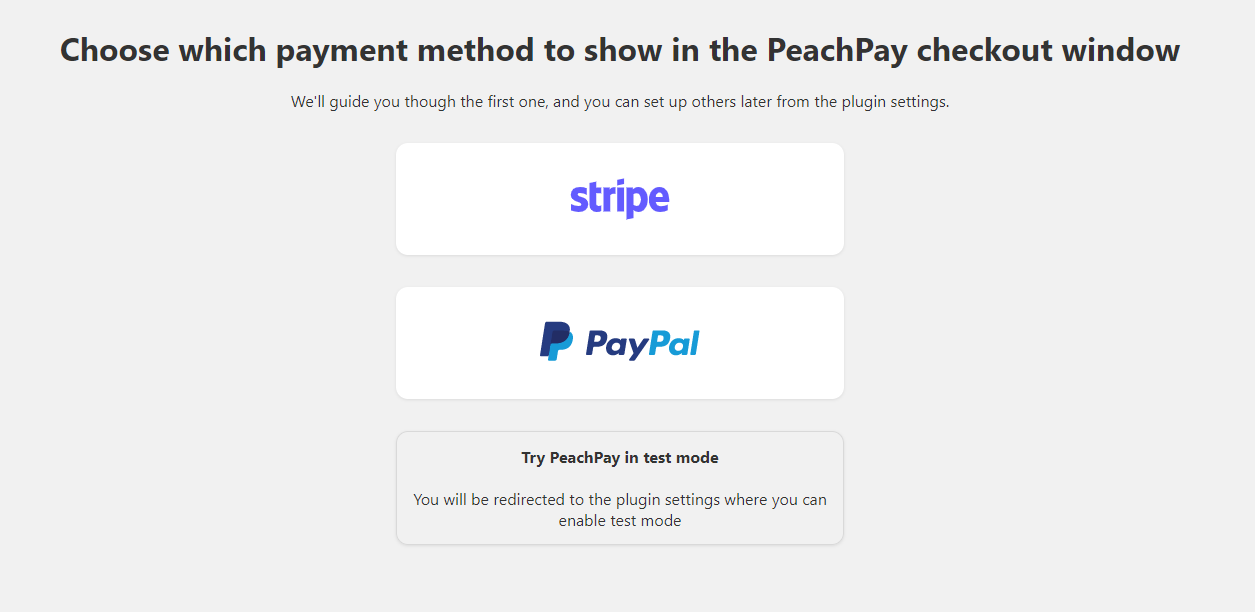
3. Running Multiple Payment Processors Together
PeachPay, allows you to run multiple payment processors at the same time. Customers shopping on your WooCommerce store can choose their preferred payment method.
As mentioned earlier, you can enable PayPal, Stripe, Google Pay, Apple Pay, Klarna, and Afterpay. PeachPay has also promised to integrate Square, Sezzle, WooCommerce Payments, and other payment options soon.
Main Features of PeachPay
Now that you have successfully set up and activated PeachPay, let us learn more about the main features of the PeachPay plugin.
1. One-Click Checkout
Customers will be presented with an express checkout button, as shown in the image below:
Based on our interaction with PeachPay, customers will not have a hard time using it for the first time. In addition, it makes the checkout process fast and efficient. It will practically take seconds, especially if customers have enabled the autofill feature.
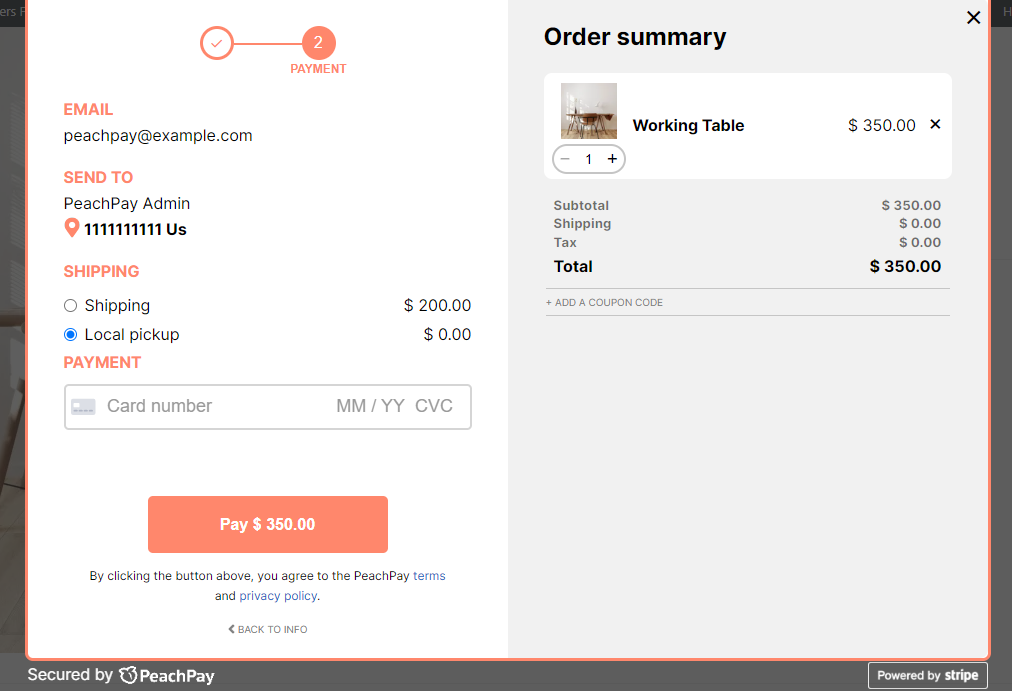
Once customers complete their first order with PeachPay, the “one-click” feature is automatically enabled, as shown in the image below:
PeachPay automatically securely saves all their information. Returning customers are only required to click on the Express Checkout button. After that, all they need to do is click the Pay button to complete their purchase.
The entire process takes less than five seconds. If you had an endless, laborious checkout process, PeachPay will help to mitigate cart abandonment.
2. Button Preference Settings
The PeachPay plugin allows you to customize the checkout button to match your brand. The powerful button customizer allows you to customize the text, color, width, visibility, and other important settings.
It is very easy to style the button because you live preview all the changes you are making.
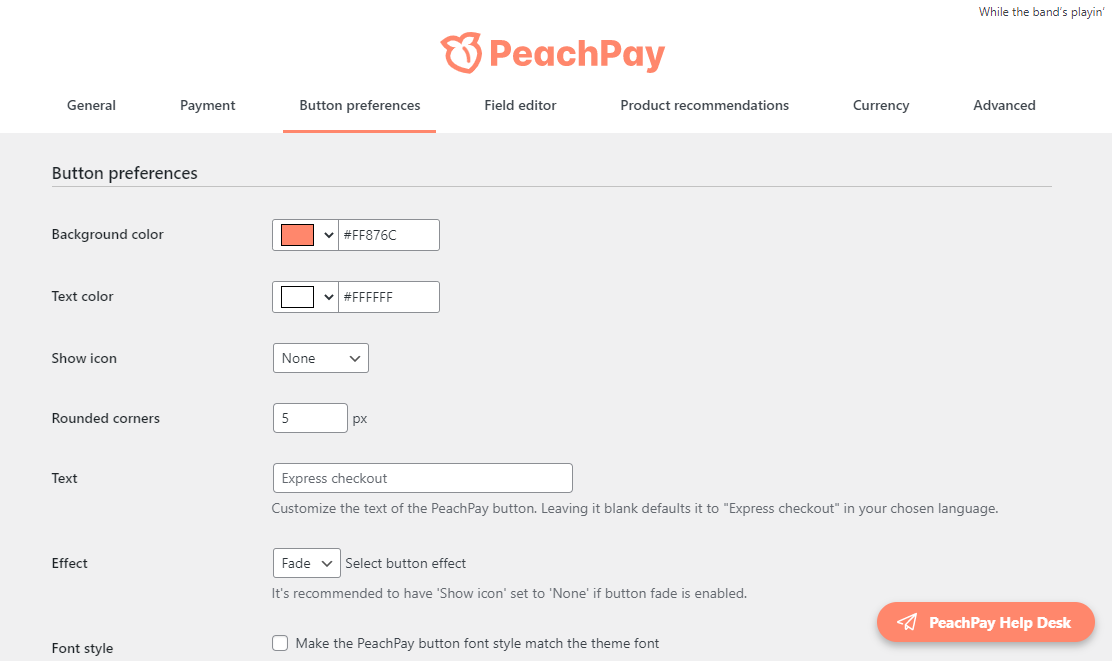
In addition, you can also style different buttons on your store, including the product page button, cart page button, shop page button, and checkout page button separately. This helps to save time because you can make changes like alignment and width in a matter of seconds.
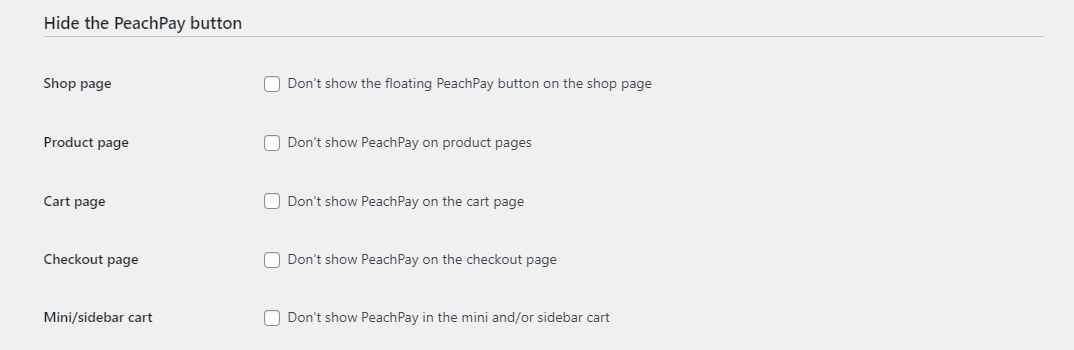
The other unique feature in this section is the Hide PeachPay button. This setting allows you to hide the PeachPay button from specific locations in your WooCommerce store, as shown below:
3. Field Editor
PeachPay also comes with a field editor that allows you to add more fields. This allows you to collect additional information from customers in your WooCommerce store.
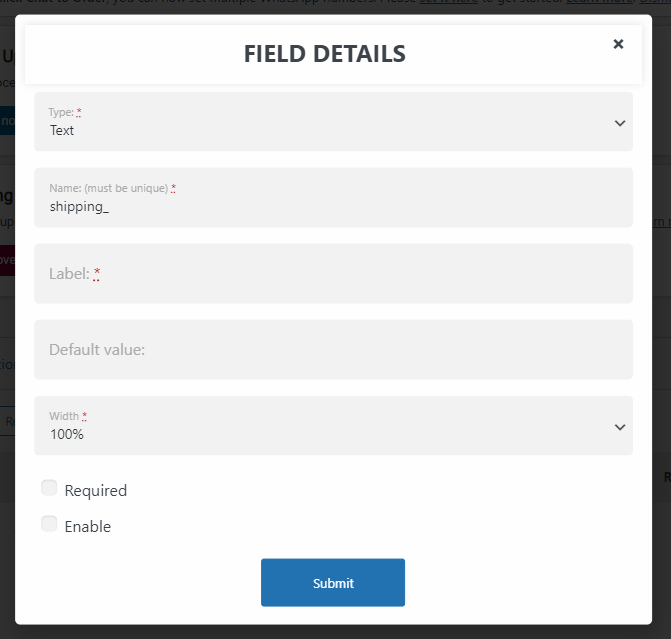
You can add a new field, give it a name, select its field type, label it, set a default or placeholder value, and make it required.
If you sell digital products, you do not require the physical address of the customer. Therefore, you can disable the address field on the checkout flow.
However, you need to check your local laws, if it is mandatory to collect your customer’s address.
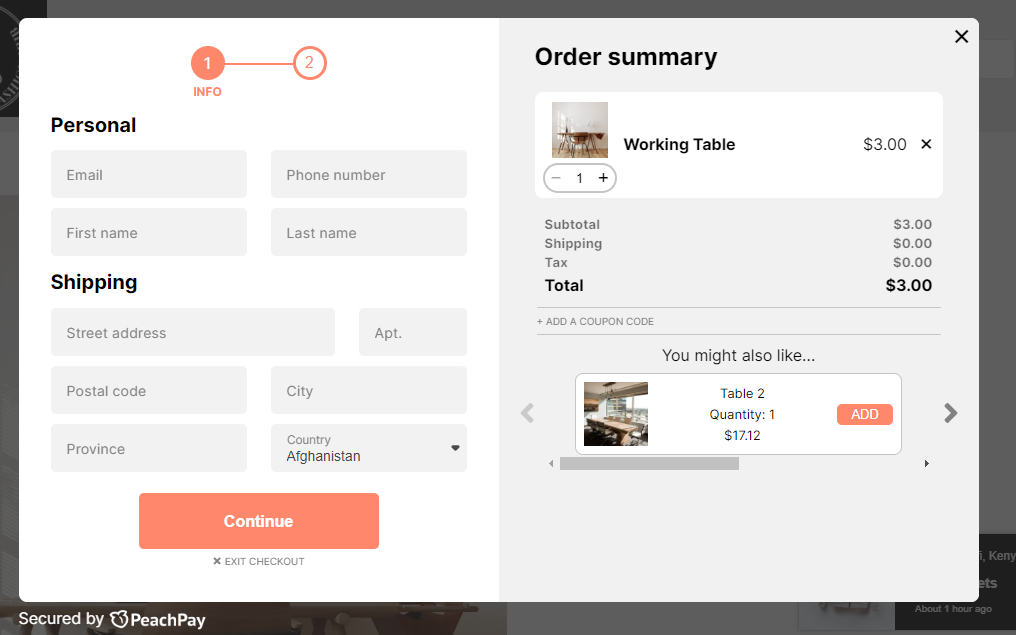
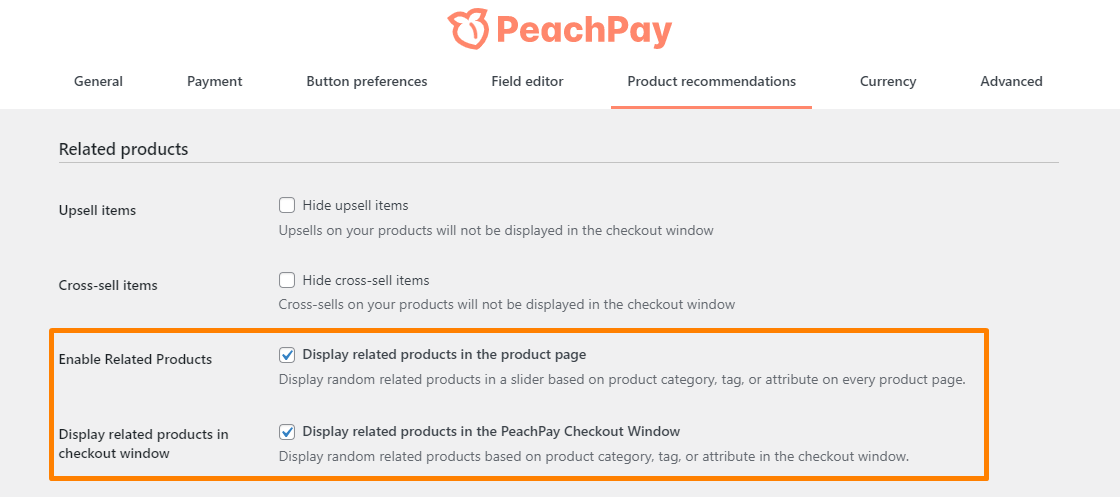
4. Related Products
A study by McKinsey indicated that cross-selling or placing related products on the checkout flow helps to increase product sales. PeachPay allows you to show related products on the product pages or in the checkout process.
Products that can be used with or can be bought with your most selling product can be used for cross-selling and upselling.
Here is an example of an upsell in the checkout popup.
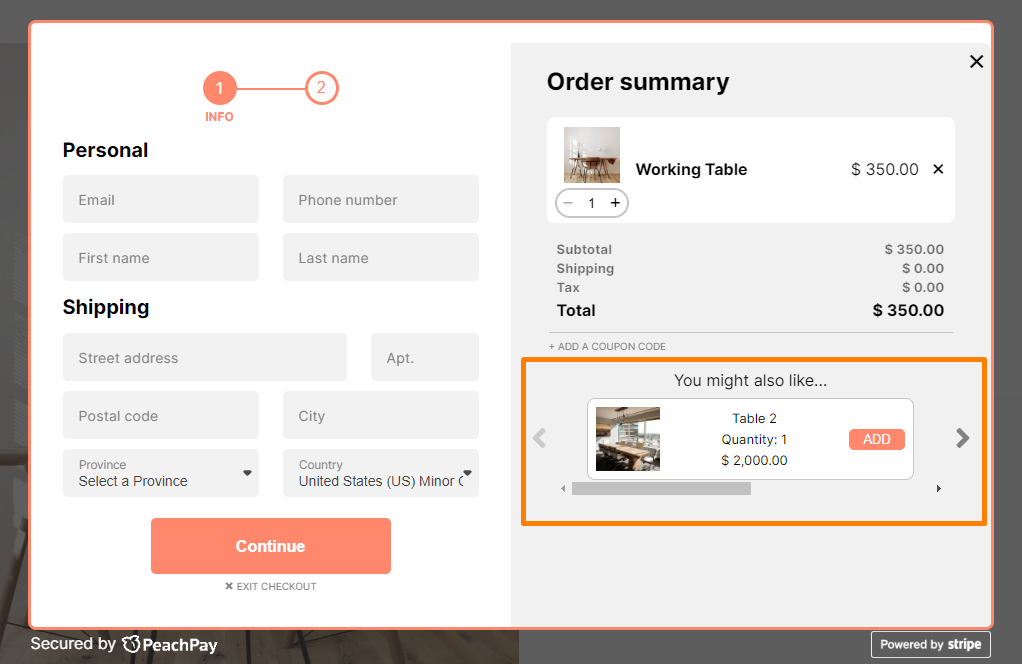
It is very easy to enable related products using PeachPay. All you need to do is tick the checkbox and enter the number of related products you want to display. PeachPay also allows you to display related products in a slider as shown below:
5. Currency Switcher
The other unique feature is the currency switcher. It allows you to accept payments in different currencies. This is important for WooCommerce stores with global shoppers.
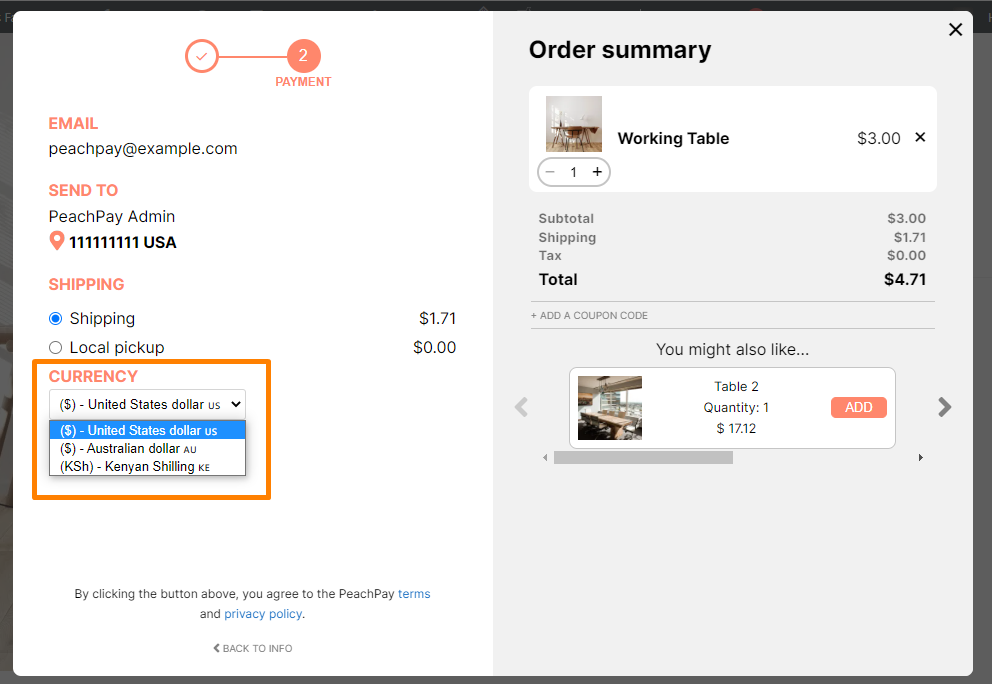
If you enable the currency switcher, you will get nine different currency switcher options.
It is worth mentioning that you can also define important things like the conversion rate, conversion type, and the number of decimals each currency support. This ensures that you get accurate calculations.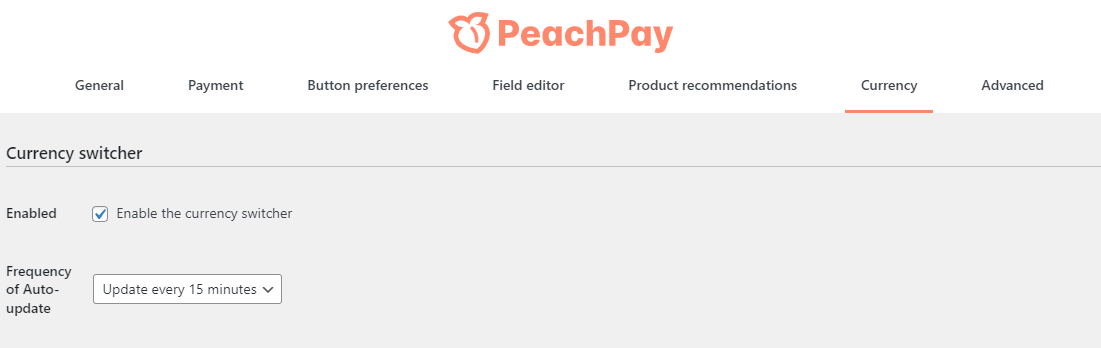
Fast-Acting, Quality Customer Service
If you have any queries or have a hard time connecting PeachPay with WooCommerce, feel free to reach out to their customer service and support. Trying out their plugin when creating this guide was a breeze. We did not encounter any problems.
However, we decided to contact their support team to see how fast they respond. They replied within a few minutes with a detailed explanation of how to handle the issue.
This is different when compared to most plugins available on the market today. Most of them take too long to reply.
If you want Premium WooCommerce Support, you need to pay a small fee, as shown below:
FAQS on PeachPay
- Is PeachPay.app safe?
Yes! PeachPay is very safe to use. Customers’ information will be stored securely.
- Is PeachPay.app free?
Yes! PeachPay is free to use.
- Where will the PeachPay button appear on my site?
The PeachPay Button will appear on the cart and product pages. However, you have the option to disable the buttons on a specific page.
- Is it possible to use PeachPay in multiple stores?
Yes! You can install and activate the plugin on different stores.
- How many currencies does PeachPay support?
PeachPay supports all currencies used by Stripe and PayPal.
- Where can I view the orders placed with PeachPay?
You can view orders placed with PeachPay directly on the WooCommerce order feed.
- Is it possible to customize the PeachPay button?
Yes, it is possible to change the color, width, orientation, and text of the button in your plugin settings.
- Which languages does PeachPay Support?
PeachPay supports English, Spanish, French, Italian, Japanese, Romanian, and German. However, you can contact them if you have a special request.
Our Verdict
As you have seen, you can use the PeachPay plugin to optimize the checkout process of your WooCommerce store. This will help to reduce cart abandonment due to a long complicated checkout process.
The onboarding process of the plugin sets it aside from other checkout plugins. It only takes 5 to 10 minutes to offer excellent one-click checkouts to customers.
After activating the plugin, it was very easy to use. Therefore, recommend it for all WooCommerce stores. This is because it is compatible with many WooCommerce themes, plugins, and site builders.
In addition, the one-click checkout helps to save time. However, customers will have to enter their payment and shipping details the first time. The process is very easy and takes a few seconds.
PeachPay also supports different types of payment methods including PayPal, Stripe, Google Pay, Apple Pay, Klarna, and Afterpay. In addition, advanced features such as the currency switcher, checkout button customizations, field editing, and languages option, allow you to sell your products globally.
If you are a WooCommerce store owner, you should consider installing this free tool. It will help you to boost sales.