
In this post, I am going to show you a very simple solution to add WooCommerce Custom Text Field on Product Page.
These custom fields are also called product add-ons and they include text fields, select fields, checkboxes, and so on.
The main reason for adding this is to allow the customer to enter additional, personalized information about a product at a cost.
WooCommerce is a powerful eCommerce solution for WordPress that has gained popularity over the years.
It is estimated that WooCommerce powers over 42% of all the online stores available.
This is a very large percentage and if you are looking for an online store that is easy to set up and manage, then WooCommerce is the best option for you.
It is a free and open-source solution, which has evolved into a very competent e-commerce solution for WordPress-based websites.
Woocommerce Custom Text Field on Product Page
If you do a quick search on the internet, many people will provide you with complex solutions that are hard to implement.
In this brief tutorial, I will share a PHP code snippet that will add this functionality to your Product page.
By the end of this tutorial, users of your online store will be able to add a custom note to each product.
If the custom field is not filled, then it will throw an error.
Moreover, if you are looking for a simpler way to add custom fields, then the Product Extras for WooCommerce plugin will be the best solution for you.
However, it is a premium plugin and you will have to pay a yearly rate of $59.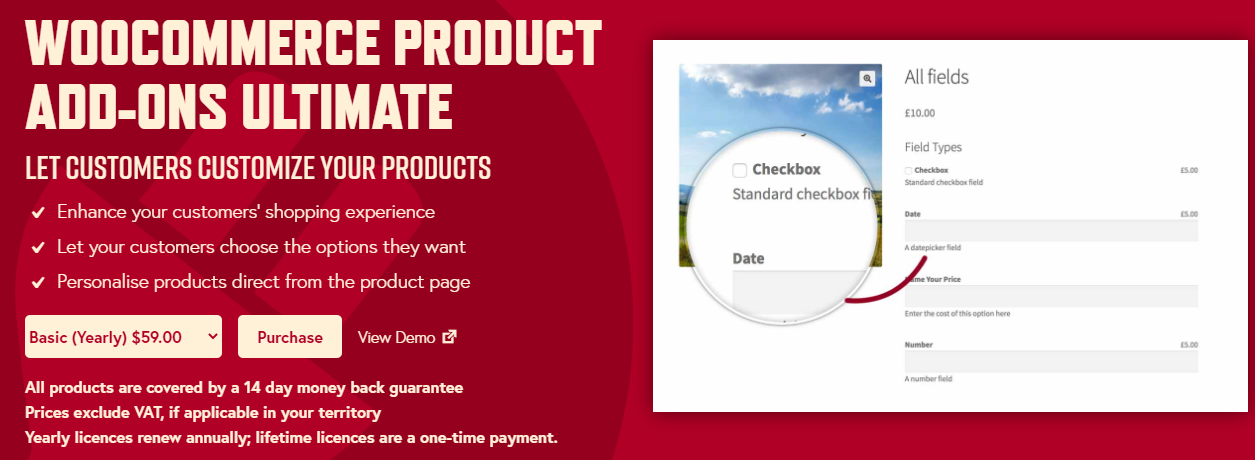
Why would you add Custom Fields on the Product Page?
The main reason for doing this is to improve customer retention, which is likely to boost sales, as customers will be able to add a custom note to the order.
For example, a customer might want gift-wrapping or personalized greeting cards on the product and he or she can add a custom note on the product.
With all that laid on the table, let us have a look at the steps that you need to follow to add a custom text field on the product page in your WooCommerce store.
The default product page looks like this: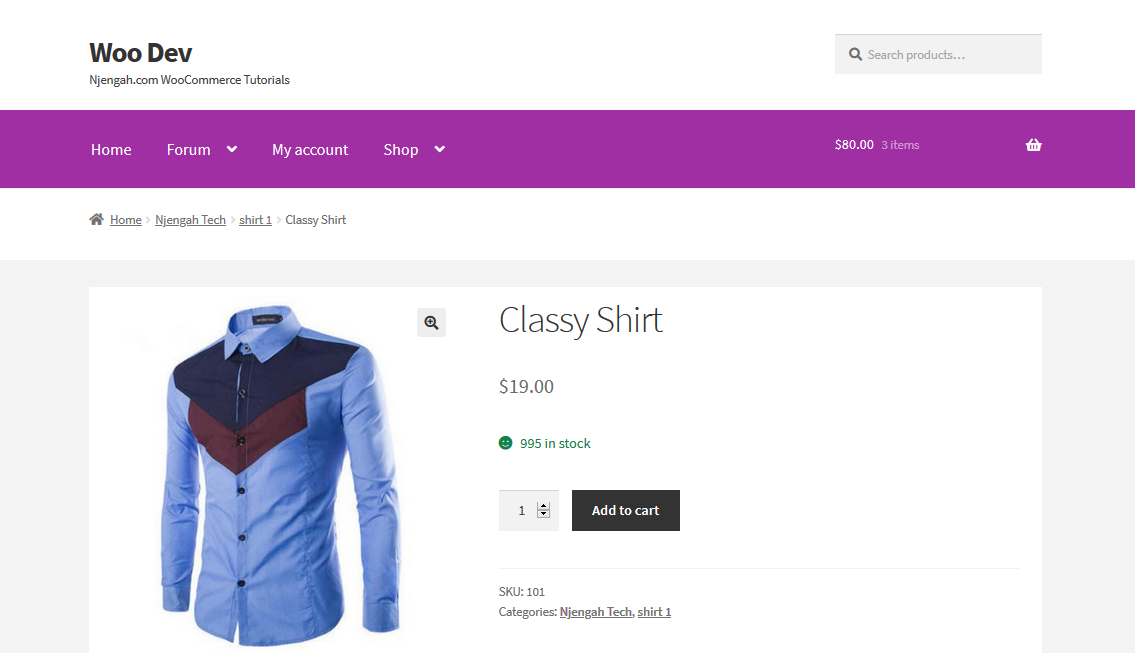
Steps to Add Woocommerce Custom Text Field on Product Page
Here are the steps that you need to follow:
- Log into your WordPress site and access the Dashboard as the admin user.
- From the Dashboard menu, click on Appearance Menu > Theme Editor Menu. When the Theme Editor page is opened, look for the theme functions file where we will add the function that will Add WooCommerce Custom Field on the Product Page.
- Add the following code to the functions.php file:
/**

 * @snippet       Add an input field to products - WooCommerce

 */

// -----------------------------------------

// 1. Show custom input field above Add to Cart

add_action( 'woocommerce_before_add_to_cart_button', 'njengah_product_add_on', 9 );

function njengah_product_add_on() {

    $value = isset( $_POST['custom_text_add_on'] ) ? sanitize_text_field( $_POST['_custom_text_add_on'] ) : '';

    echo '<div><label>Custom Text Add-On <abbr class="required" title="required">*</abbr></label><p><input name="custom_text_add_on" value="' . $value . '"></p></div>';

}

// -----------------------------------------

// 2. Throw error if custom input field empty

add_filter( 'woocommerce_add_to_cart_validation', ' njengah_product_add_on_validation', 10, 3 );

function njengah_product_add_on_validation( $passed, $product_id, $qty ){

   if( isset( $_POST['custom_text_add_on'] ) && sanitize_text_field( $_POST['custom_text_add_on'] ) == '' ) {

      wc_add_notice( 'Custom Text Add-On is a required field', 'error' );

      $passed = false;

   }

   return $passed;

}

// -----------------------------------------

// 3. Save custom input field value into cart item data

add_filter( 'woocommerce_add_cart_item_data', ' njengah_product_add_on_cart_item_data', 10, 2 );

function njengah_product_add_on_cart_item_data( $cart_item, $product_id ){

    if( isset( $_POST['custom_text_add_on'] ) ) {

        $cart_item['custom_text_add_on'] = sanitize_text_field( $_POST['custom_text_add_on'] );

    }

    return $cart_item;

}

// -----------------------------------------

// 4. Display custom input field value @ Cart

add_filter( 'woocommerce_get_item_data', ' njengah_product_add_on_display_cart', 10, 2 );

function njengah_product_add_on_display_cart( $data, $cart_item ) {

    if ( isset( $cart_item['custom_text_add_on'] ) ){

        $data[] = array(

            'name' => 'Custom Text Add-On',

            'value' => sanitize_text_field( $cart_item['custom_text_add_on'] )

        );

    }

    return $data;

}

// -----------------------------------------

// 5. Save custom input field value into order item meta

add_action( 'woocommerce_add_order_item_meta', ' njengah_product_add_on_order_item_meta', 10, 2 );

function njengah_product_add_on_order_item_meta( $item_id, $values ) {

    if ( ! empty( $values['custom_text_add_on'] ) ) {

        wc_add_order_item_meta( $item_id, 'Custom Text Add-On', $values['custom_text_add_on'], true );

    }

}

// -----------------------------------------

// 6. Display custom input field value into order table

add_filter( 'woocommerce_order_item_product', ' njengah_product_add_on_display_order', 10, 2 );

function njengah_product_add_on_display_order( $cart_item, $order_item ){

    if( isset( $order_item['custom_text_add_on'] ) ){

        $cart_item['custom_text_add_on'] = $order_item['custom_text_add_on'];

    }

    return $cart_item;

}

// -----------------------------------------

// 7. Display custom input field value into order emails

add_filter( 'woocommerce_email_order_meta_fields', ' njengah_product_add_on_display_emails' );

function njengah_product_add_on_display_emails( $fields ) {

    $fields['custom_text_add_on'] = 'Custom Text Add-On';

    return $fields;

}
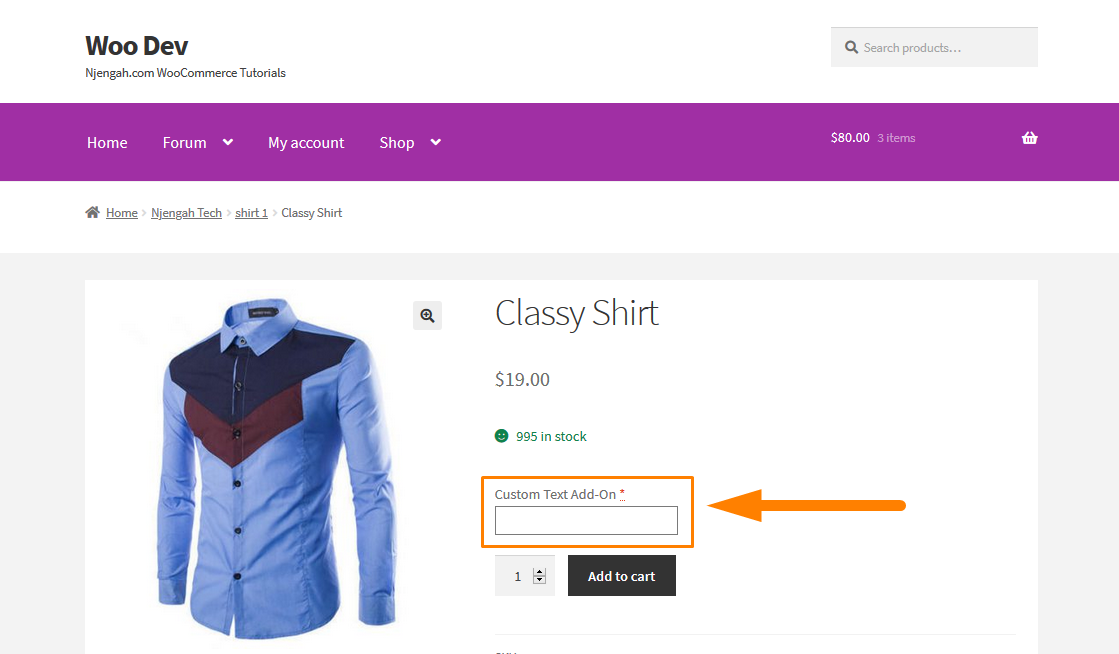
- To see the outcome, simply refresh the product page and you should see this:
If a user has not entered the details, then an error will be displayed until the user adds the custom text as shown below:
The custom note will also appear on the Order details as shown here: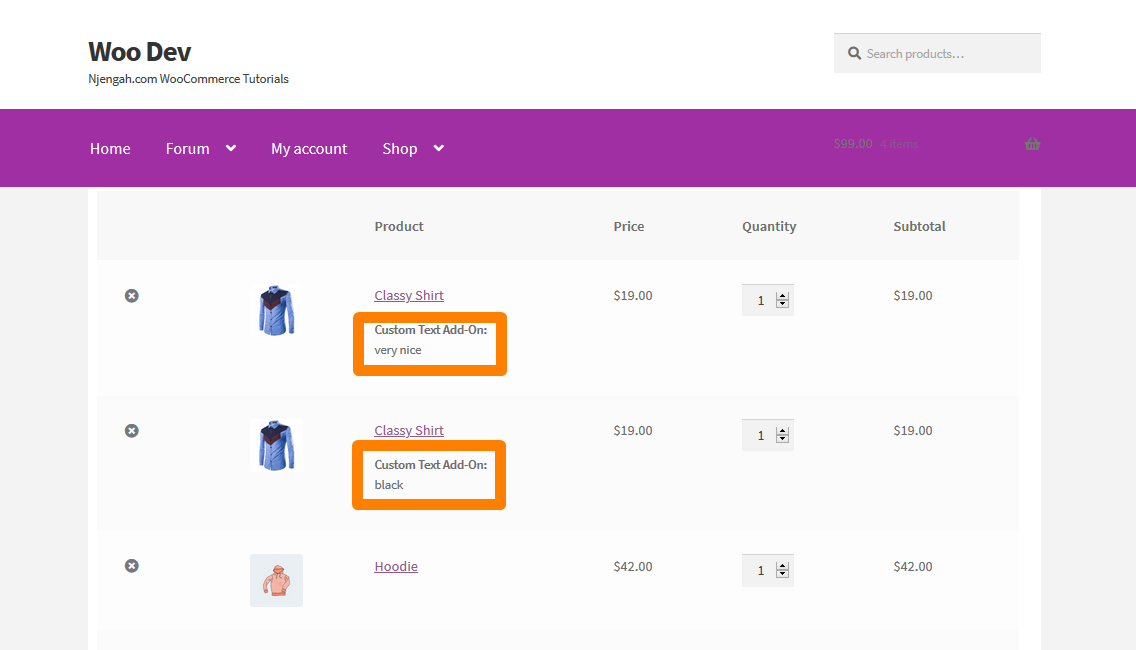
How the Code Works
First, the code shows the custom input field above Add to Cart, and then an error is added if the custom input field is empty.
Then the custom input field value is saved and it is displayed in the cart, order item, order table, and in the order emails.
Conclusion
In this post, I have provided you with a simpler solution for the not-so-tech-savvy users that involve the use of a plugin.
Then I shared a PHP code snippet that should be placed in the functions.php file to display the customer add-on in the cart, order item, order table, and in the order emails.
I hope that this post helped you to add a WooCommerce custom text field on the product page.

Joe is an experienced full-stack web developer with a decade of industry experience in the LAMP & MERN stacks, WordPress, WooCommerce, and JavaScript – (diverse portfolio). He has a passion for creating elegant and user-friendly solutions and thrives in collaborative environments. In his spare time, he enjoys exploring new tech trends, tinkering with new tools, and contributing to open-source projects. You can hire me here for your next project.
Similar Articles
- How to Set Custom Related Products In WooCommerce
- How to use WordPress custom Hooks do_action & apply_filters With Examples
- How to Remove Downloads Menu My Account Page WooCommerce
- How to Get Payment Methods in WooCommerce » Code Example
- How to Hide Products Without Image In WooCommerce
- How to Remove Zoom Effect on WooCommerce Product Image
- How to Add Categories to WooCommerce Products
- How to Remove Bullets from Unordered List in WordPress
- How to Add Extra Field in WooCommerce Checkout Form
- How to Change Proceed To Checkout Text In WooCommerce
- How to Add woocommerce Product from Frontend
- How to Count Items Added to Cart WooCommerce Cart Count Code
- How to Change Checkout Button Text in WooCommerce [Place Order]
- 5 WordPress Pagination Code Snippets with Examples [Simple to Advanced]
- How to Change In-Stock Text in WooCommerce
- How to Redirect WooCommerce Users After Registration by Roles
- How to Get Order ID In Woocommerce
- How to Remove Hash # from WordPress URLs with Simple Trick
- How to Add Description after Price in WooCommerce
- How to Change the WooCommerce ‘Added to Cart’ Notice
Comments are closed.