 Are you looking for a way to add an order status message in WooCommerce? This article will provide a solution for you. For various reasons, you might want to include several different order statuses. However, the default version of WooCommerce allows you to mark orders with one of the following statuses completed, processing, pending payment, on hold, refunded, canceled, or failed.
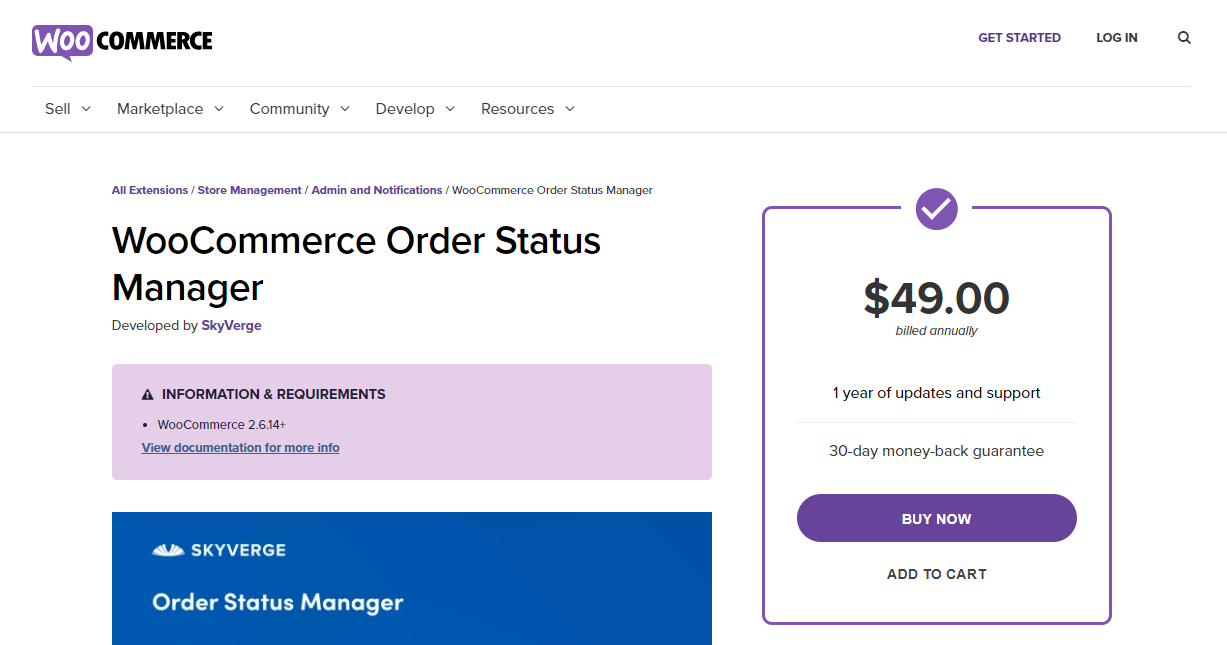
You might want to add order status names that fit the flow of your online store like “Awaiting shipment”, “Building”, or others to fit their fulfillment needs. However, WooCommerce has a solution for this problem with an extension called ‘WooCommerce Order Status Manager’ that is priced at $49.
This might be an expensive solution for your store, but there is an easy way to do this. In the current version of WooCommerce, order statuses are saved as a custom post status, just like a draft, scheduled, or published for posts.
The main aim of this article is to show how you could modify order data, add information to orders, export order data externally, or run any general action that requires order details. It is also important to note that these statuses trigger further actions and therefore you need to provide a WooCommerce code for these actions.
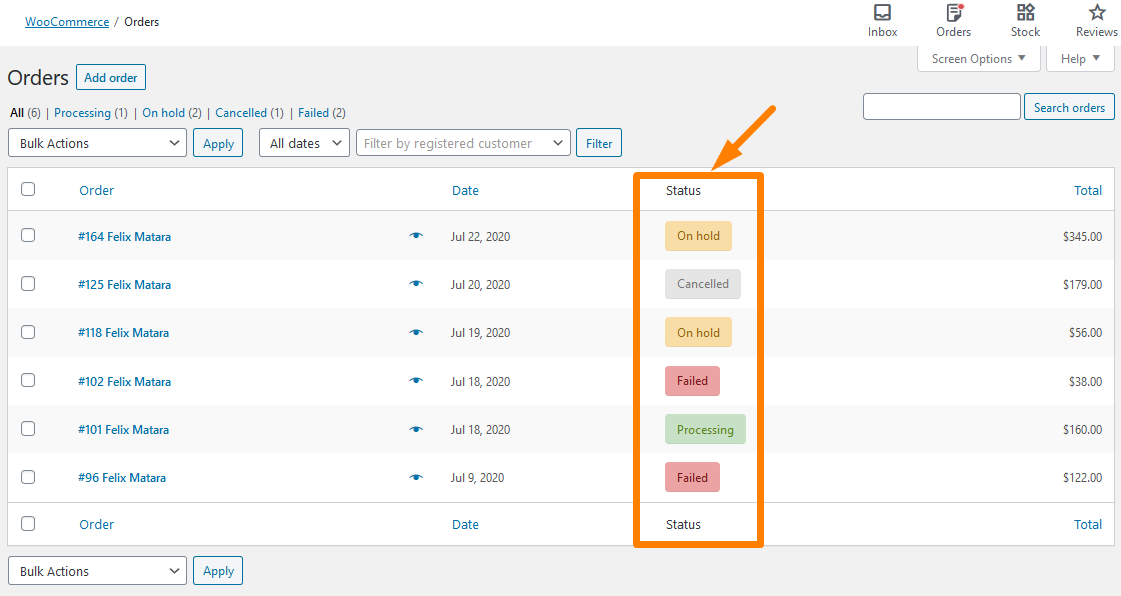
With all that said, let us take a deep dive into how you can add an order status messages in WooCommerce. To check the default order status messages, simply log into your WordPress site and access the Dashboard as the admin user. Then, click on WooCommerce > Orders. You will see this:
Additionally, these messages are displayed in the front-end when a customer tries to place an order. This can be accessed by clicking on My Account > Orders as shown below: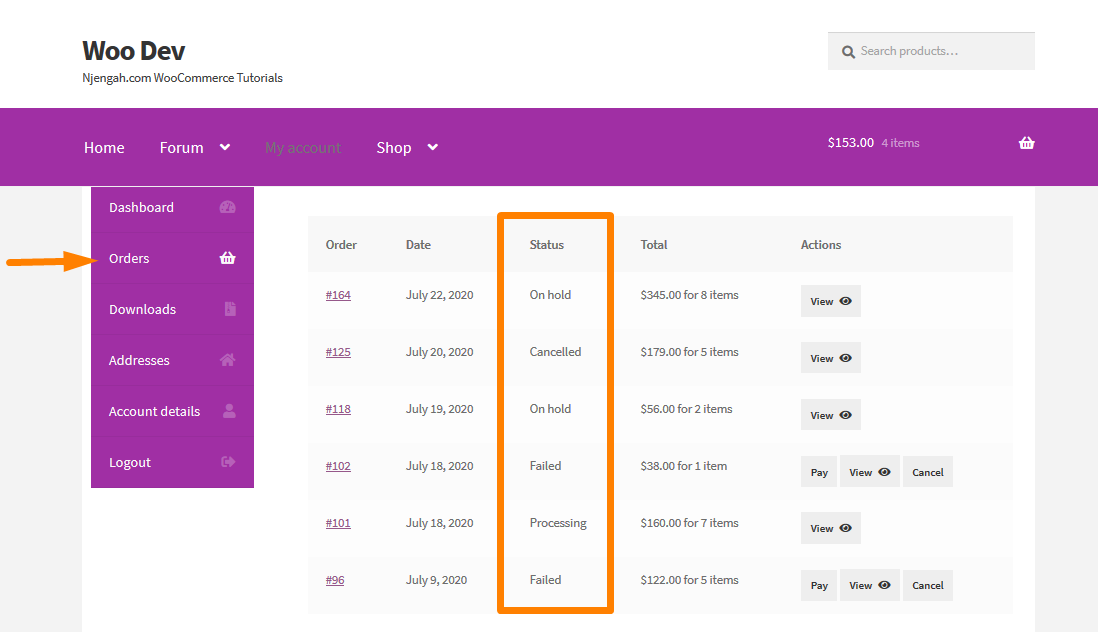
a) Steps to Add an Order Status in WooCommerce Using Code
Here are the steps that you need to follow:
- Log into your WordPress site and access the Dashboard as the admin user.
- From the Dashboard menu, click on Appearance Menu > Theme Editor Menu. When the Theme Editor page is opened, look for the theme functions file where we will add the function that will add an Order Status in WooCommerce.
- Add the following code to the php file:
/**

             Adding custom status

*/


function register_shipment_arrival_order_status() {

    register_post_status( 'wc-arrival-shipment', array(

        'label'                     => 'Shipment Arrival',

        'public'                    => true,

        'show_in_admin_status_list' => true,

        'show_in_admin_all_list'    => true,

        'exclude_from_search'       => false,

        'label_count'               => _n_noop( 'Shipment Arrival <span class="count">(%s)</span>', 'Shipment Arrival <span class="count">(%s)</span>' )

    ) );

}

add_action( 'init', 'register_shipment_arrival_order_status' );

function add_awaiting_shipment_to_order_statuses( $order_statuses ) {

    $new_order_statuses = array();

    foreach ( $order_statuses as $key => $status ) {

        $new_order_statuses[ $key ] = $status;

        if ( 'wc-processing' === $key ) {

            $new_order_statuses['wc-arrival-shipment'] = 'Shipment Arrival';

        }

    }

    return $new_order_statuses;

}

add_filter( 'wc_order_statuses', 'add_awaiting_shipment_to_order_statuses' );
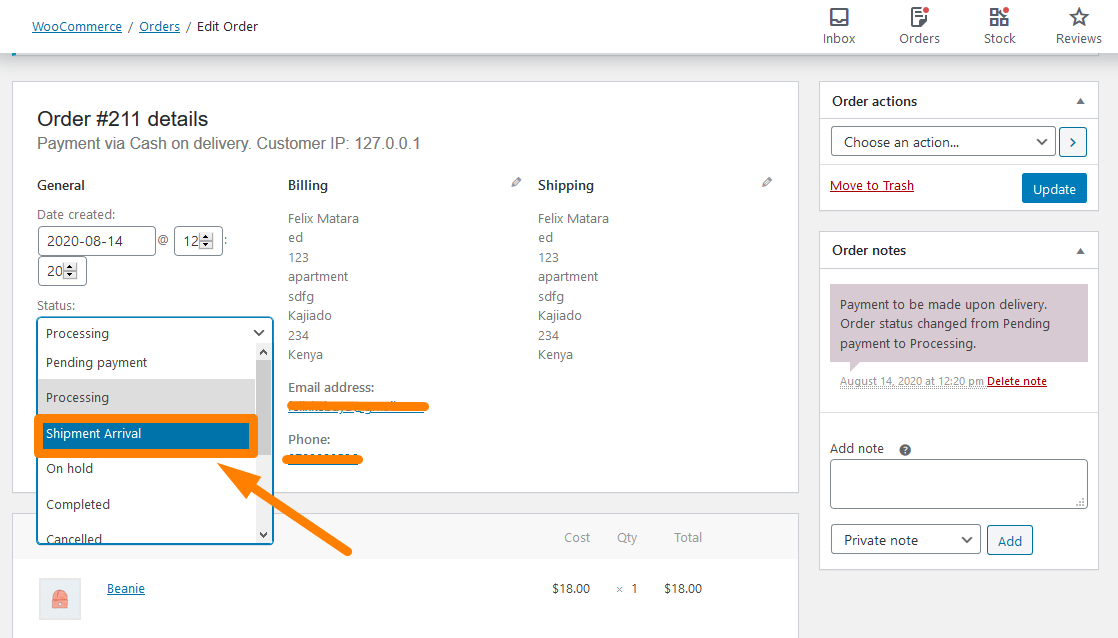
- To see the Outcome, click on WooCommerce > Orders then you will select any order and try to change the order status. You will note that a new status has been added called Shipment Arrival as shown:
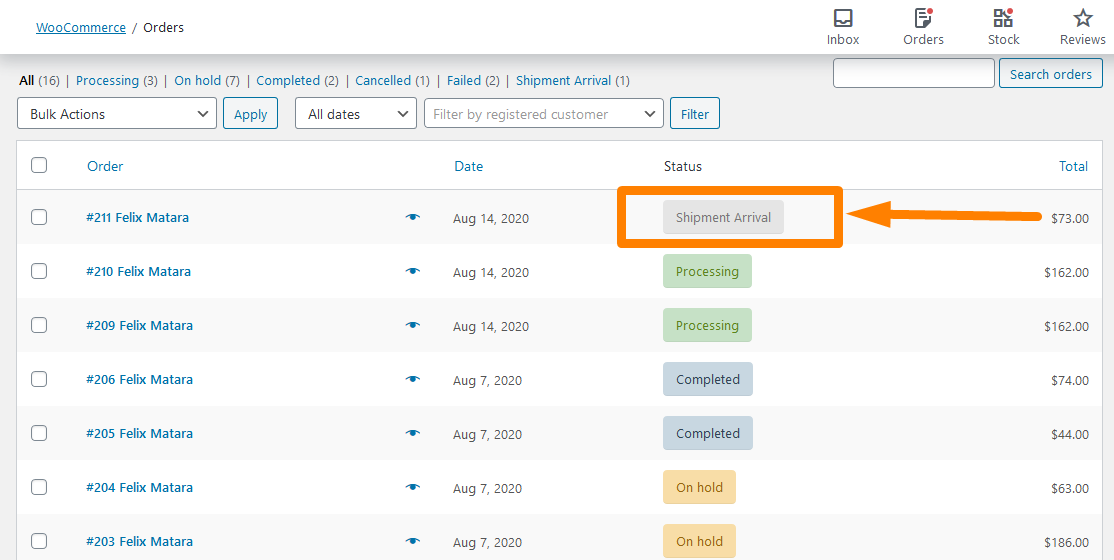
- If you change the Order status and update it, then this will be the Outcome:
How the Code Works
In the code above, I added the post status using the register_post_status() function. If you look closely at the function, there is a slug for the order status, prefixed by “wc-” for WooCommerce. After that, I created an array that contains the data that defines the custom post status. This implies that the label is what will be displayed, so I can change it to the exact name of the order status.
Additionally, the add_awaiting_shipment_to_order_statuses() function will add this new custom post status into the list of available order statuses within the WooCommerce Orders and Edit Orders pages. Therefore, these statuses are available on these pages.
Moreover, I included the foreach loop, which goes through the list of current order statuses until it finds the one I want. In the code above, the Shipment Arrival will be inserted after Processing order status.
b) Steps to add Custom Order Status Messages in WooCommerce Using a Plugin
If you are not that technical, you can do this by the use of a plugin. It is for those who are not familiar with customizing their site with code or maybe they do not want to mess up the coding structure of their site.
The plugin that we are going to use is the Custom Order Status for WooCommerce.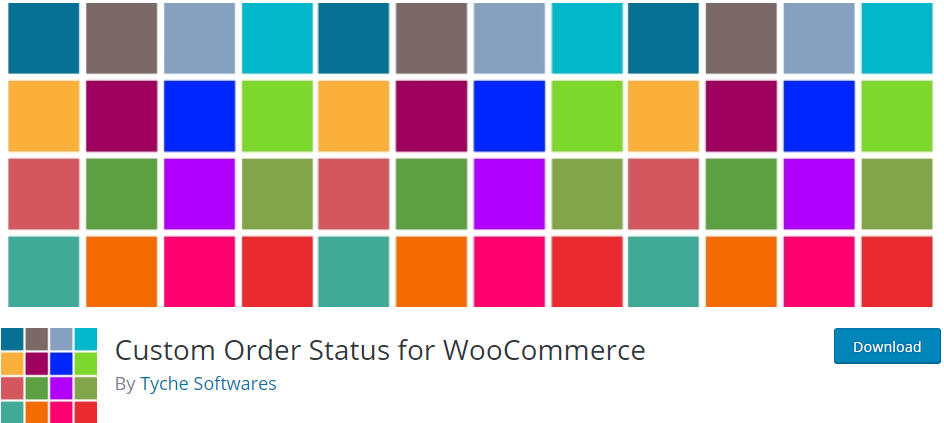
Here are the steps that you need to follow:
- Log into your WordPress site and access the Dashboard as the admin user.
- To download it directly in the Admin Panel, simply navigate to Plugins > Add New. After that, you will need to do a keyword search for the plugin ‘Custom Order Status for WooCommerce’. You need to install and activate it as shown below:

- To make the changes that you need simply click on WooCommerce > Settings > Custom Order Status as shown below:
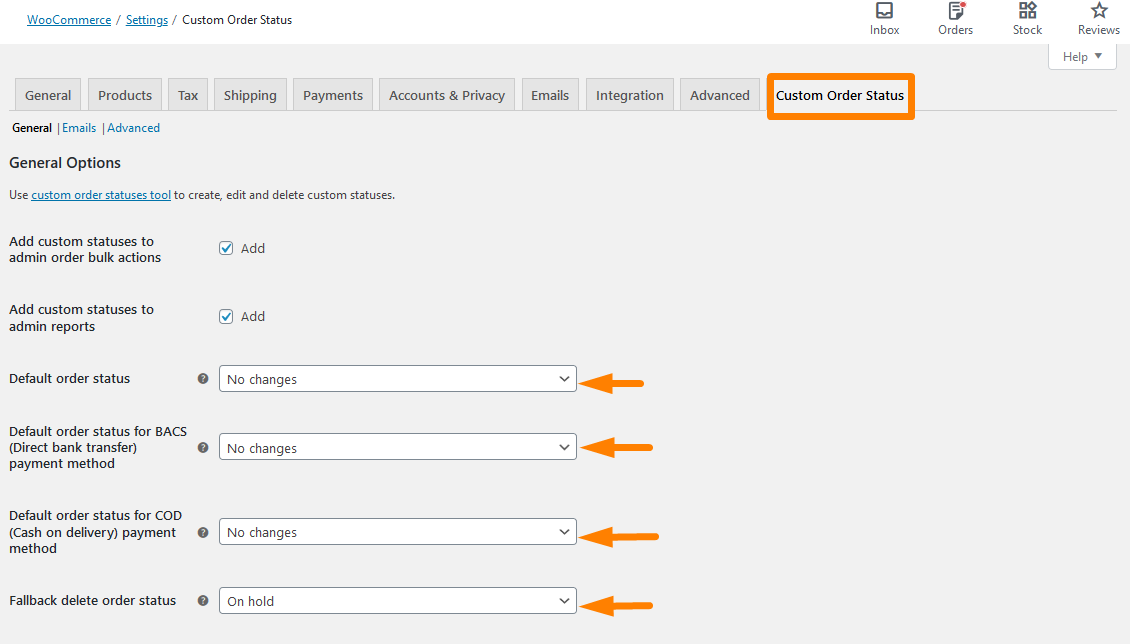
- Remember to save the changes that you make.
Conclusion
In this tutorial, I have shared two solutions that you can use to add an order status in WooCommerce. The first method involves the use of a custom PHP code that I created to add the order status. By default, WooCommerce does not have an option to add this and this solution will offer a quick fix for this since WooCommerce can be extended.
The second solution can be used by WordPress beginners or the not too tech-savvy individuals who are not familiar with code. It is a very easy solution to implement, as all you need to do is download the plugin called Custom Order Status for WooCommerce.
Similar Articles
- How to Check if User is Logged In in WordPress
- How to Add Product After Storefront Setup [Beginner Guide]
- How to Use WooCommerce Product Attributes Step by Step [Complete Guide]
- How to Add GTIN Numbers On Products In WooCommerce
- WooCommerce Redirect After Checkout : Redirect to Custom Thank You Page
- How to Disable Payment Method for Specific Category
- How to Add Product Image WooCommerce Checkout Page
- How to Add Custom Shipping Method in WooCommerce
- How to Add Categories to WooCommerce Products
- How to Disable Ship to Another Address Option
- How to Hide Add to Cart Button in WooCommerce
- How to Hide All Products From Shop Page in WooCommerce
- How to Add Woocommerce Product from Frontend
- How to Change Add to Cart Button Text In WooCommerce Shop Page
- How to Create WooCommerce Storefront Child Theme [Complete Guide]
- How to Display WooCommerce Products By Category
- How to Add Extra Field in WooCommerce Checkout Form
Comments are closed.