 Are you looking for a quick and easy way on how to add countdown in WordPress? In today’s brief tutorial, we will help you add a timer to help you showcase important achievements, upcoming events, and many more.
In addition, we will also share when and why you should use a milestone countdown in your WordPress website. We will explain each step in detail to make it easy for beginners to implement this solution.
It is important to note that it is very easy to add a countdown timer in WordPress. As you will quickly find out, you do not need any coding experience to implement this solution. This is because we will be using a plugin called SeedProd. There are many other alternatives, but this is the most recommended plugin because it is compatible with many WordPress themes.
How to Add Countdown In WordPress
Let us get right into it.
Summary Steps
- When and Why Should you use a Countdown Timer?
- How to Create a Coming Soon & Maintenance Mode Countdown Timer using SeedProd
When and Why Should you use a Countdown Timer?
It is worth mentioning that countdown timers help you to remind the audience about an important event or milestone in your business. You can use these timers to inform them of an upcoming event, website launch, product release date, or any other event.
Countdown timers are widely used because they help to build anticipation among your customers. In addition, it helps to improve user engagement.
Some of the other common scenarios where you might use a countdown timer are during website maintenance and holidays like Black Friday to offer big discounts.
How to Create a Coming Soon & Maintenance Mode Countdown Timer using SeedProd
In this section, we will show you how you can add a milestone countdown widget using the SeedProd Pro plugin
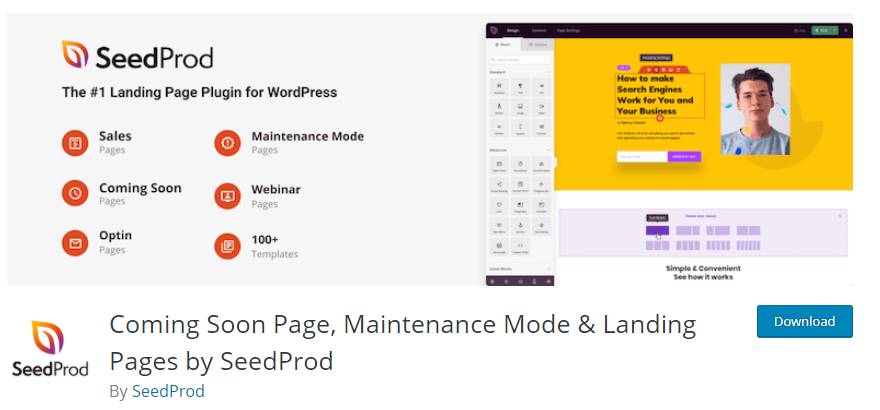
SeedProd is a popular landing page builder for WordPress and it is very easy to use. It features a drag, drop builder for creating amazing landing pages, and countdown timers.
It is worth mentioning that it has some ready-made templates you can use. This saves a lot of time and effort.
If you upgrade to the Pro version, you will also get access to more templates that are advanced, page blocks, and other email marketing integrations.
Here are the steps you need to follow:
- Log in to the WordPress admin.
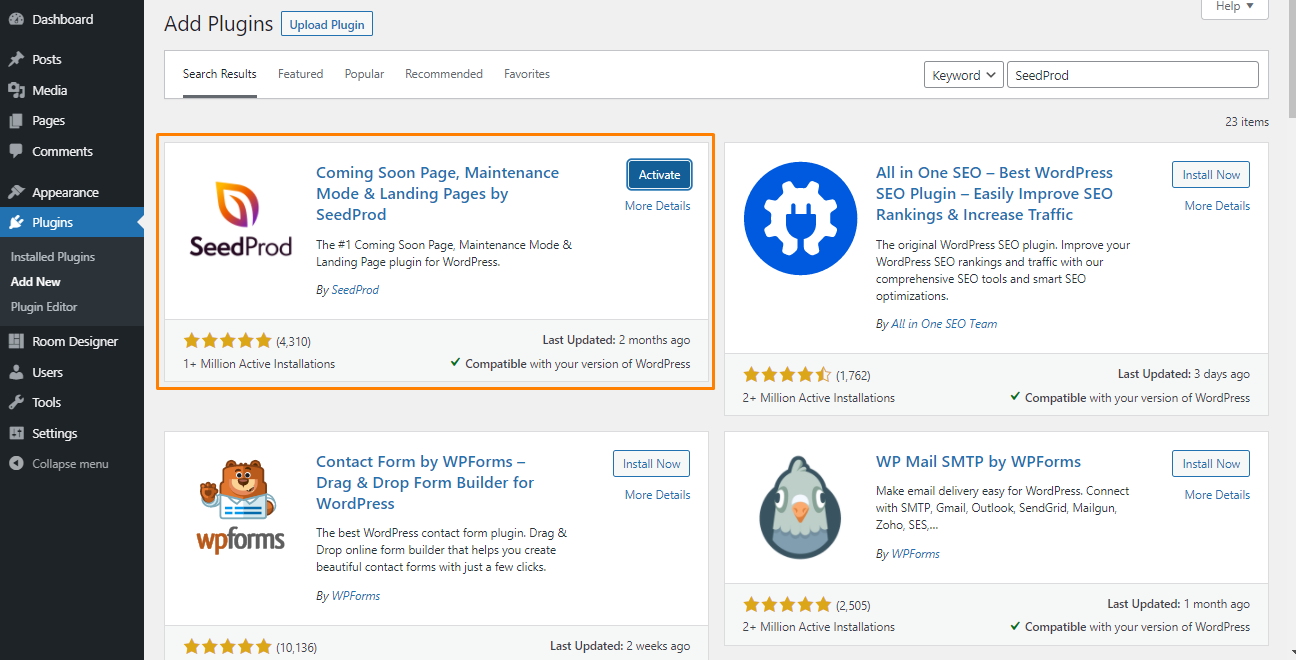
- From the WordPress dashboard, navigate to Plugins > Add New.
- To download it directly in the Admin Panel, simply navigate to Plugins > Add New. After that, you will need to do a keyword search for the plugin ‘SeedProd’. You need to install and activate it:
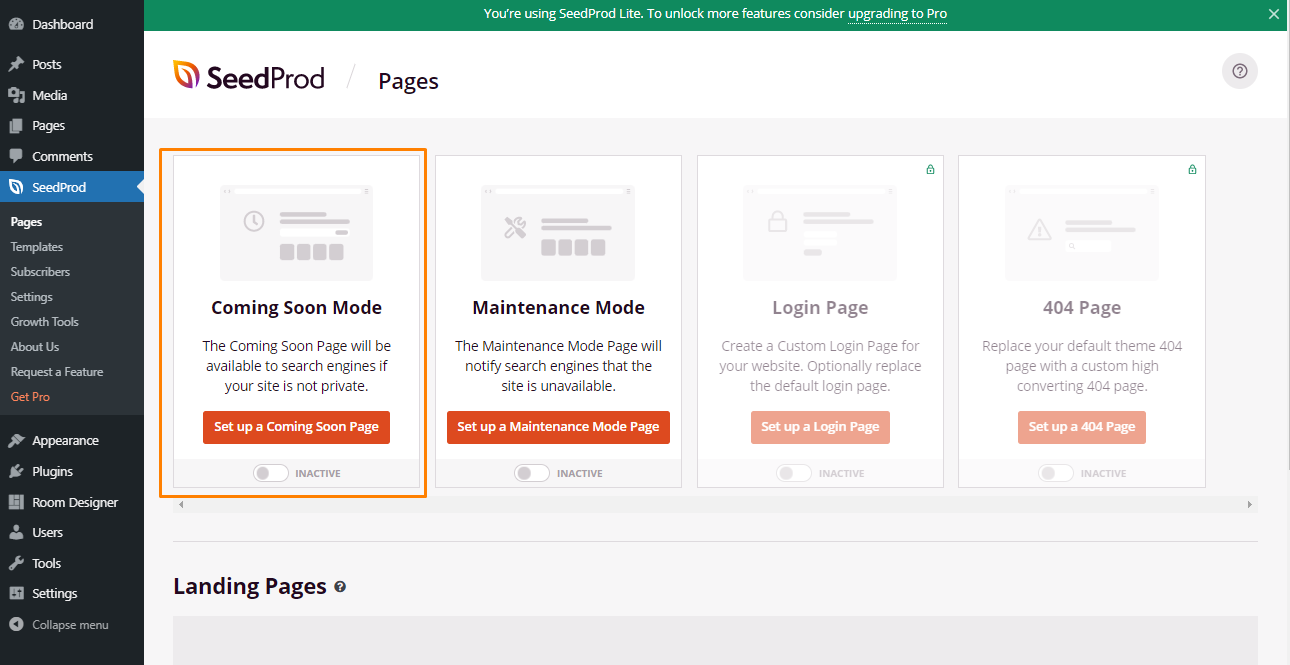
- Once the plugin is activated, you can create a new landing page by going to SeedProd > Pages.
- Click on Create Your First Page:

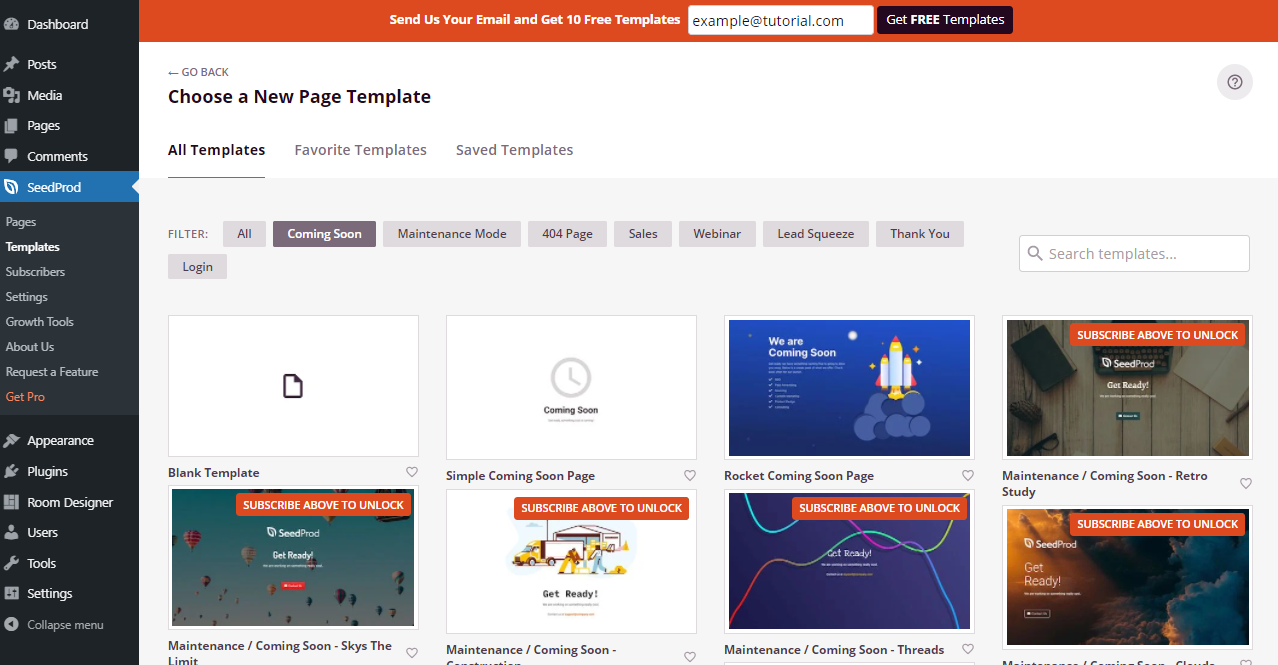
- For illustration purposes, we will be using the Coming Soon page to add a countdown timer.
- The next step is to select a template for your landing page. You can edit it depending on your needs, or you can create one from scratch.
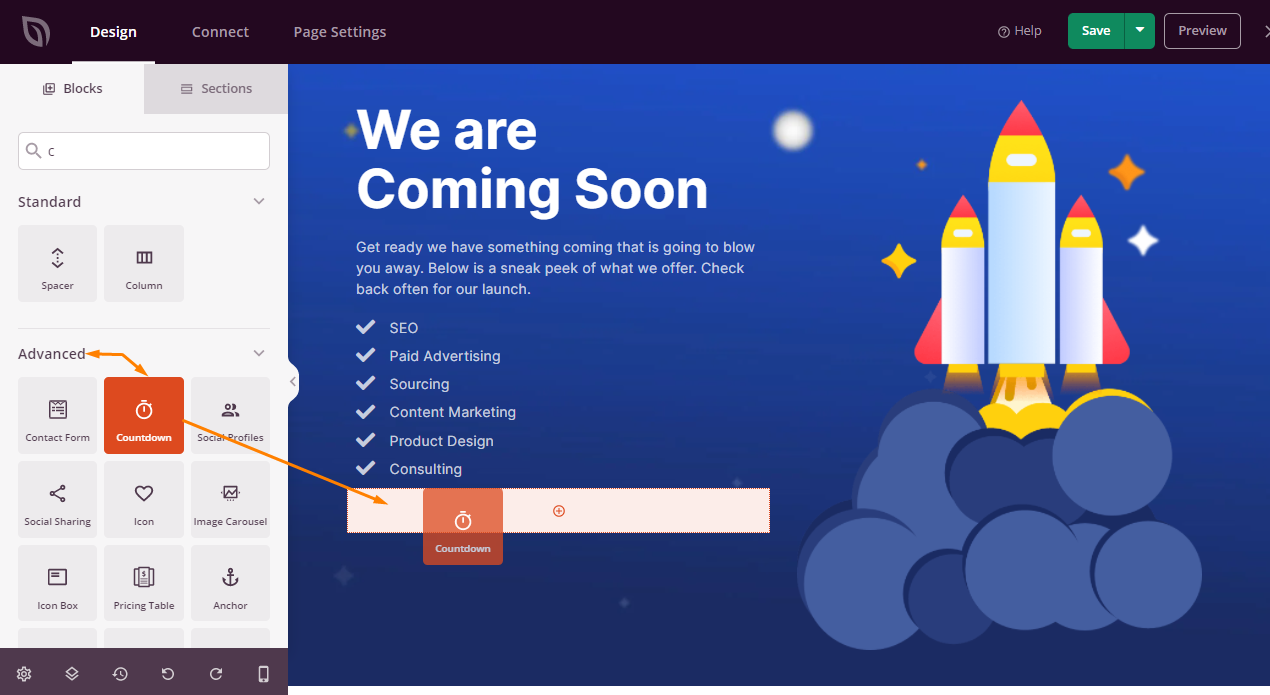
- If you want to add a timer, you need to have the pro version installed and running. Go to the Advanced page blocks section from the left menu and place the ‘Countdown’ block anywhere on the page you are creating. You can also edit other sections of the page.
- Once you are satisfied with all the changes, click on Save.
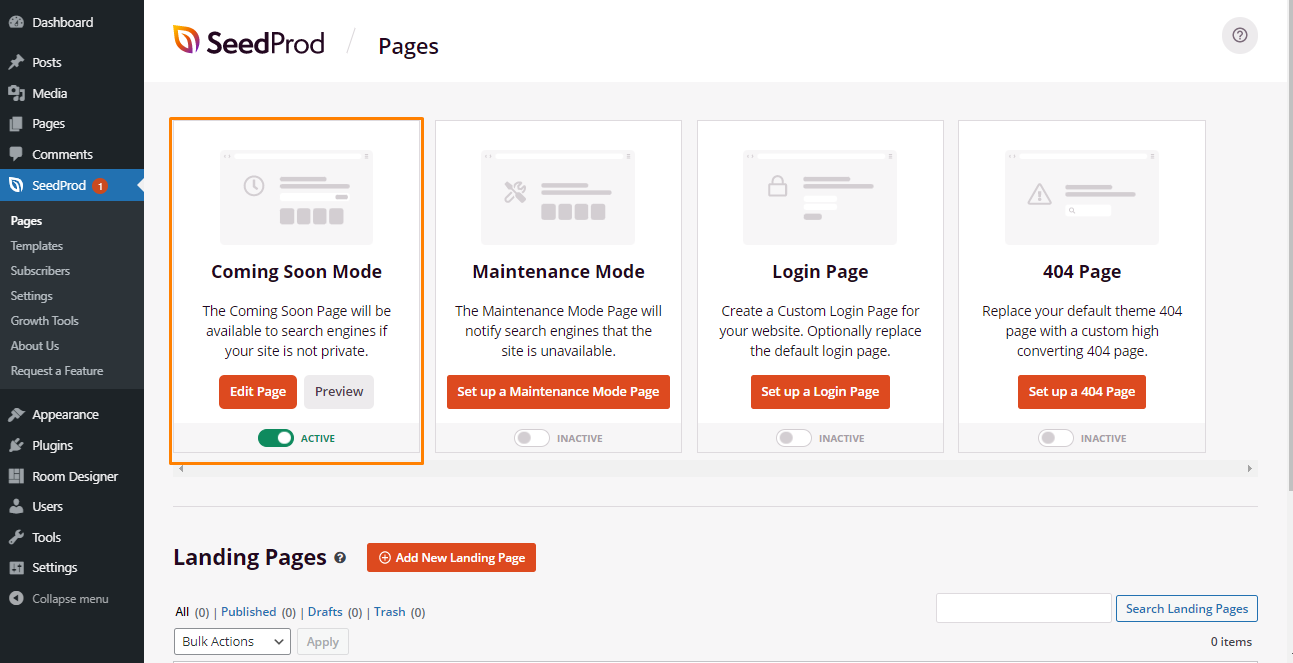
- The last step is to go to SeedProd > Pages and change the status of your coming soon page to ‘Active’ Your visitors will now see the coming soon countdown timer.
- This is the outcome:

Wrapping Up
In this post, we have shared how you can create a countdown timer using the SeedProd Pro plugin. It is very easy to use because it features a drag and drop editor. This means that you do not need any coding skills to implement this solution.
In addition, there are many templates included nut you can create one from scratch. If you need a custom solution for your site, please contact a qualified WordPress developer.
Similar Articles